

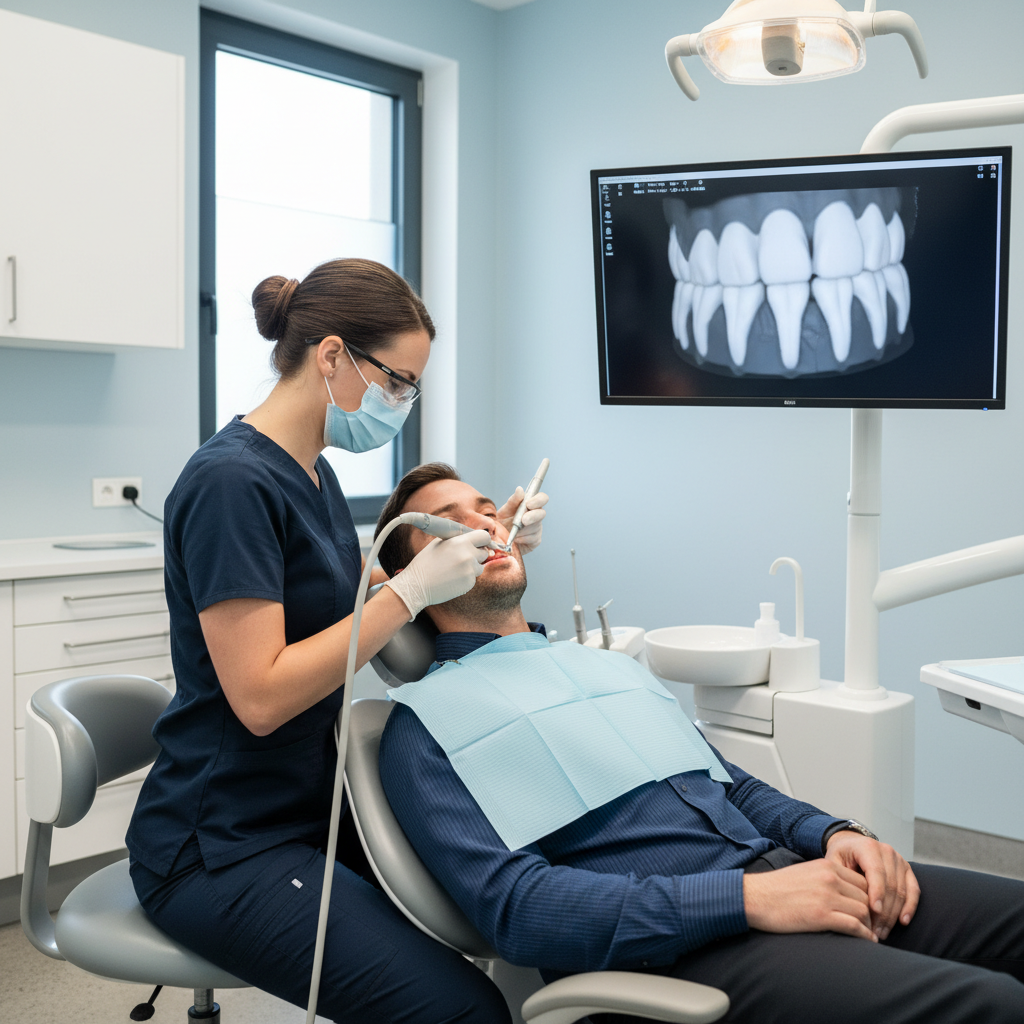
Scanner-first crown preparation integrates intraoral scanning directly into the crown prep appointment.
Scan looks clean, margins look clear, but the crown still rocks when you seat it. Then comes the slow dance of checking contacts, re‑adjusting occlusion, and silently wondering where things went wrong. In most digital cases, the answer lives in the prep, not the scanner.
This article looks at crown preparation inside a scanner-first workflow, pairing clinical steps with what your lab actually designs on screen, so you can cut remakes and spend more time saying “cemented and done” instead of “let’s rebook.”
NovaDent Labs fabricates crowns and fixed prosthetic restorations for dental practices across Australia.
View Fixed Prosthetics →
Learn About Intraoral Scanners →
Submit a Case →
TL;DR: scanner-first crown preparation in one glance
- Most “digitally made” remakes still trace back to under-reduction, unclear margins, or undercuts in the crown prep – not the intraoral scanner.
- Digital labs are designed to specific thickness, margin, and path-of-insertion rules; when your prep for a crown respects those rules, crowns tend to drop in with minimal adjustment.
- Small shifts – such as supragingival margins where possible, smoother axial walls, and better soft-tissue control at scan time – often cut reappointments far more than changing scanners or materials.
Why does scanner-first crown preparation feel different chairside?
A scanner-first workflow doesn’t change the biology, but it does change what your lab can compensate for. Conventional impressions gave labs a bit more “forgiveness” with stone model trimming and wax patterns. With CAD/CAM, what you prep is what we design on, often at the micron level.
Recent systematic reviews show that, at the prosthesis level, digital and conventional impressions produce similar accuracy for many fixed cases, with clinical outcomes generally within acceptable thresholds when protocols are respected. See this systematic review on digital vs conventional impressions. The catch is that inaccuracies now show up earlier – in the live 3D model on screen – and they travel straight into the design if they’re not spotted.
In a scanner-first workflow, the prep determines most of whether the crown drops in or needs half an hour of “blue paper archaeology.”
For a lab like NovaDent Labs, which works entirely in a digital design environment, small prep changes from the clinician’s side often deliver bigger gains than changing materials or scanners.
What does your digital lab actually see when you prep for a crown?
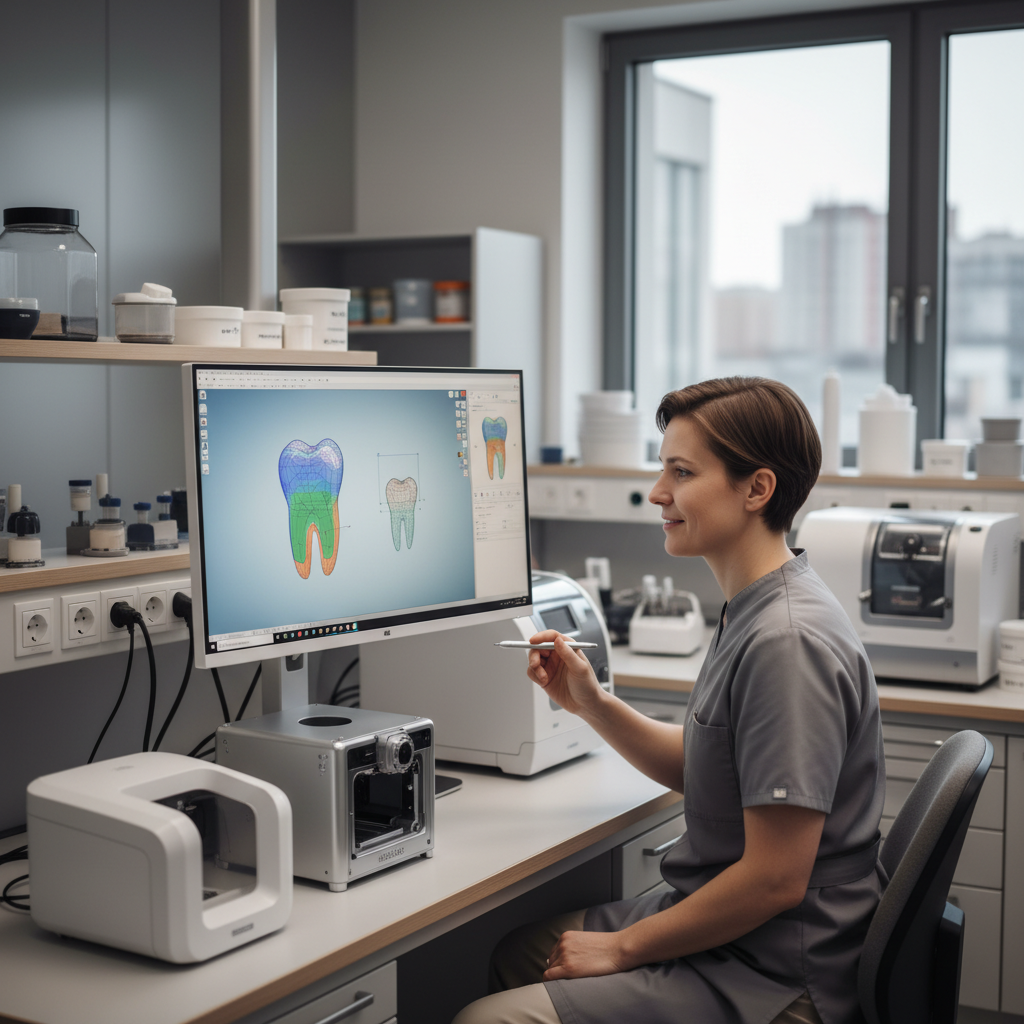
Digital labs design your crown on a detailed 3D model, applying material and thickness rules to your prep.
When you submit a digital case, your intraoral scan lands in the CAD software as a colour 3D mesh. From there, the designer has to:
- Identify a continuous margin line on the prep.
- Set a single insertion axis without undercuts or unsupported ledges.
- Check clearance against opposing teeth and adjacent contacts.
- Apply the material’s minimum thickness and connector rules (for example, zirconia vs lithium disilicate).
If any of those steps are compromised – say, a margin disappears into pooled blood, or one wall flares while the other converges – we’re either guessing or calling you for a new scan.
This is why a “good-looking” scan on your chairside screen can still generate an overbulked crown, open contacts, or repeated try‑ins. The pixels are sharp, but the geometry doesn’t line up with how the restoration must be designed and milled.
On the lab side, we can often show this by overlaying the prep with minimal-thickness maps. Many of our clients find brief feedback from the NovaDent Labs portal for specialists helpful, such as notes or images highlighting where prep geometry or clearance could be improved on future cases.
How should you design scanner-first crown preps for predictable digital geometry?
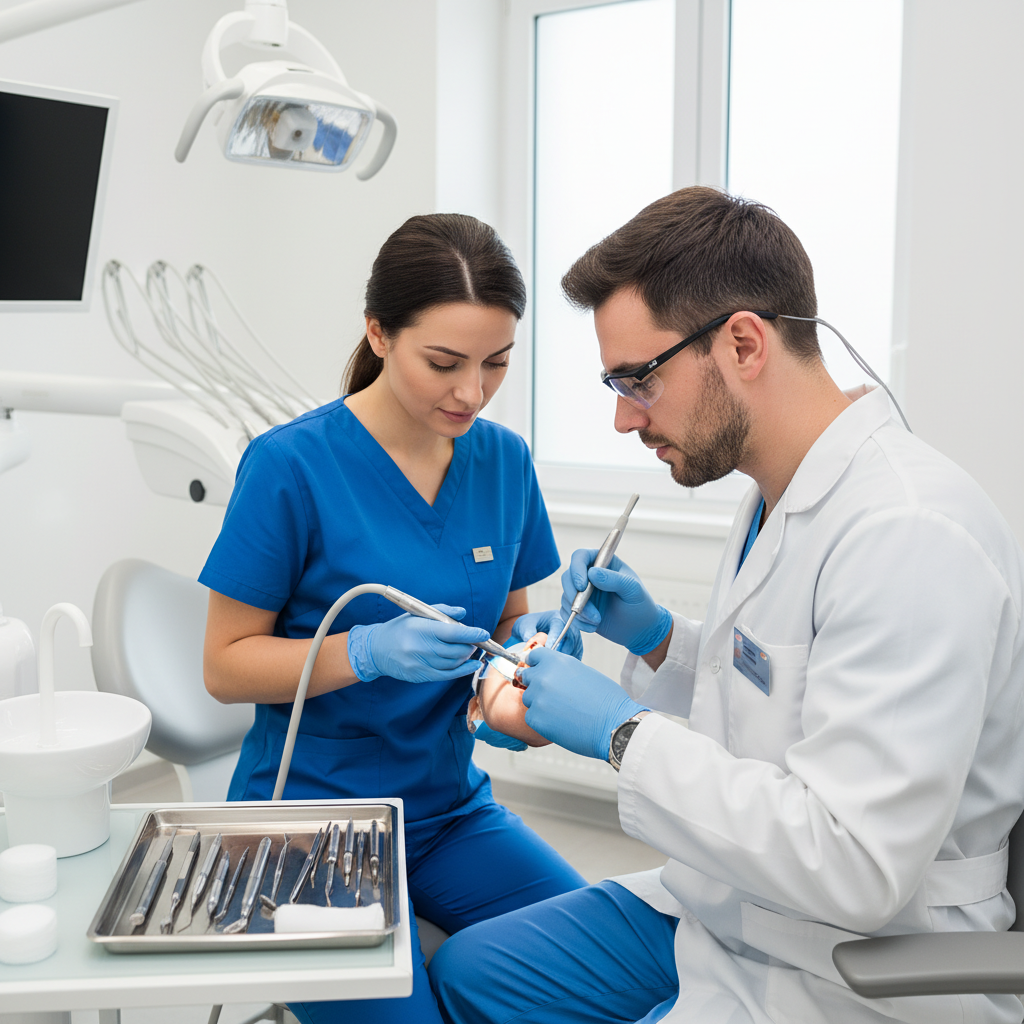
Consistent posterior crown preparation and reduction give the lab predictable space for modern materials.
Taper, ferrule, and path of insertion in a digital world
The classic prosthodontic rules still stand: roughly 6–10° total occlusal convergence, a ferrule on sound tooth structure where possible, and no undercuts. But digital design makes deviations immediately visible.
- Too parallel and the software struggles to set an insertion axis without creating artefacts in the margin.
- Too tapered and you trade retention for convenience, relying entirely on adhesive performance.
- Undercuts force the designer either to block them out (risking overbulked margins) or ask for a re‑prep.
Simple habits help here: use depth grooves, check convergence from multiple directions, and look at the prep on your own scanner in “model” view before dismissing the patient.
Occlusal reduction and material thickness
Digital crowns live or die by thickness. Under-reduction leads to bulky morphology or thin, fracture-prone zones. Manufacturer guidelines for modern ceramics commonly call for around 1.0–1.5 mm occlusal reduction for posterior zirconia and 1.5–2.0 mm for lithium disilicate crowns, with axial reduction roughly 0.8–1.5 mm depending on position and material. See GC’s crown preparation do’s and don’ts.
From a lab perspective, the fastest route to fewer adjustments is consistent clearance. For example, on zirconia crown cases that come into our NovaDent zirconia line, we regularly see chairside time drop when clinicians increase functional cusp reduction by just 0.5 mm in high-load molars.
Margin design for zirconia vs lithium disilicate
For scanner-first workflows, margin clarity beats stylistic preference. GC, Ivoclar and others all echo similar guidance: rounded shoulders or deep chamfers, continuous and smooth, work well for both zirconia and lithium disilicate. See GC’s crown preparation guidance for margin design examples.
- Zirconia: Chamfer or shoulder, ≥0.5 mm wide, with rounded internal angles.
- Lithium disilicate: 1.0–1.2 mm rounded shoulder or deep chamfer, especially in aesthetic zones.
Knife-edge or highly irregular margins can sometimes be milled, but they often translate into thin, chippy edges or overextended ceramic. In a scanner-first workflow, clean, continuous margins are one of the strongest predictors of a “single try‑in, single cement” appointment.
How should you manage soft tissue, moisture, and margins before you scan?
Even the best prep is hard to read if the margin spends its life under a halo of tissue and saliva. Systematic reviews of intraoral scanners for crown preps with subgingival margins show that trueness drops sharply once the margin slips too far below the gingival crest, especially without proper retraction or dryness.
Retraction strategies the scanner can “see.”
- Favour shallow supragingival or equigingival margins where aesthetics and caries allow.
- When you must go subgingival, use a double‑cord or cord‑plus‑gel approach and wait long enough for haemostasis.
- Scan only when the sulcus is dry and open – a glossy blood film reads as noise to most scanners.
Subgingival margins: when they still make sense
Some situations still call for them: masking dark stumps, chasing fractures, or matching existing deep margins on adjacent crowns. In those cases, it helps to:
- Limit how far below the gingival crest you track the margin.
- Send a brief note to the lab explaining the rationale and the approximate depth.
- Consider an extra scan after temporary removal if the initial image leaves the margin uncertain.
Where scanners remain unreliable – for example, very deep margins on short clinical crowns – a traditional impression remains a perfectly reasonable backup. Many practices we work with will capture both when they are still refining their scanner-first protocol for tougher cases.
What scanner-specific tips matter when you prep for a crown?
Prep surface texture and finishing
Intraoral scanners like predictability. Extremely rough surfaces create scatter; glassy-smooth ones can reflect. A fine diamond or finishing bur that leaves a satin surface tends to scan cleanly and also helps ceramics seat more fully.
- Round all internal line angles – this helps both the bur and the milling tool.
- Remove enamel “beaks” and small ledges that confuse the margin detection algorithm. See GC’s crown preparation illustrations for margin smoothing examples.
- Check for last-minute undercuts once the rubber dam or retraction cord is out, not just while it’s in place.
Scan sequencing and self-checks
Many scanners now highlight undercut areas, insufficient clearance, and stitching errors in real time. Before you send:
- Review the prep from multiple angles in the model view, not just the live colour view.
- Zoom in on the margin; if you can’t trace it cleanly with your eyes, the CAD software will struggle as well.
- Use built‑in clearance tools against the antagonist; aim for uniform colour rather than scattered high spots.
When NovaDent receives a case, our technicians repeat these checks. If we see a consistent pattern – for example, limited reduction on functional cusps or recurring scan voids on lingual margins – we’ll flag it in our feedback so it becomes easier to tune on future cases.
What prescription and communication details does your digital lab need?
A scanner-first workflow makes it simple to send much richer information than a paper lab sheet ever could. Common items that help us design more predictable crowns include:
- Material choice and rationale – zirconia vs lithium disilicate vs PFM, and whether strength or translucency is the main driver.
- Stump shade – especially for thin anterior crowns or high-value shades.
- Occlusal scheme notes – known parafunction, guidance pattern, or existing splint use.
- Pre‑op scan or photo – useful for morphology and midline decisions.
The more your prep, scan, and prescription tell the same story, the less guesswork the lab has to apply. That translates directly into fewer remakes and much shorter cementation appointments.
If you’re newer to digital, structured CPD courses from bodies like the Australian Dental Association on modern indirect dentistry and scanning can be a good complement to hands-on experience in your own practice.
What should you check before finishing a scanner-first crown prep?
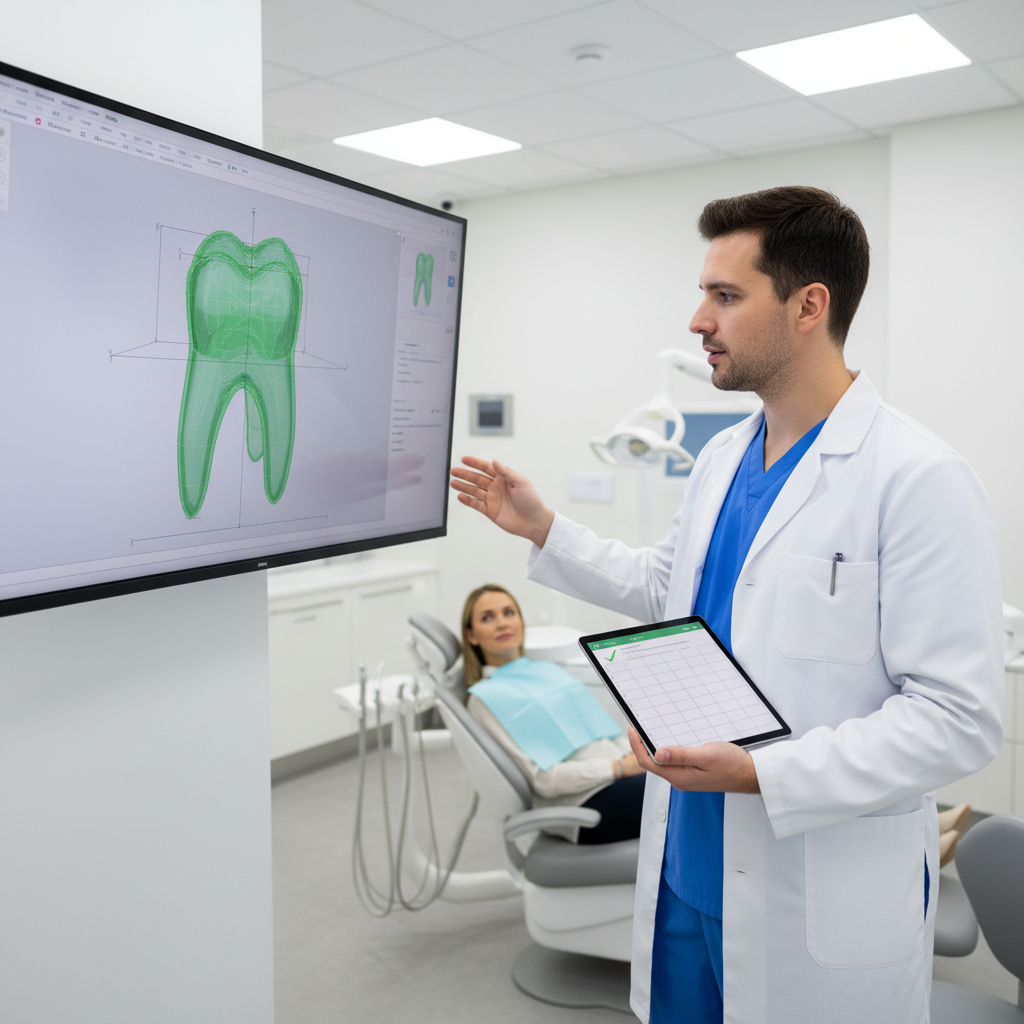
A simple pre-scan checklist linked to your digital view of the prep can cut remakes and adjustment time.
For the next molar crown you prep, try running through this short checklist before the patient leaves:
- Reduction
- Are functional cusps reduced enough for the chosen material?
- Axial walls evenly reduced, with no random “flat spots” or ridges?
- Geometry
- Taper roughly 6–10° with a clear single path of insertion?
- No undercuts once the retraction cord or dam is removed?
- Margins
- Continuous chamfer or rounded shoulder, at or just below the gingiva, where feasible?
- Margins visible all the way around in your scanner’s model view?
- Soft tissue
- Bleeding controlled, sulcus open and reasonably dry during the scan?
- Scan quality
- No stitching errors, voids on the margin, or truncated cusps?
- Bite scan shows stable intercuspation in the region of interest?
- Prescription
- Material, shade, stump shade, and any occlusal notes filled in?
Over a few months, many clinicians find that running this checklist almost automatically trims their “second appointment adjustment” time, even before changing materials or scanners.
How can you work with NovaDent Labs on digital crown preparation?
NovaDent Labs was built as a digital-first lab from the ground up, accepting digital impressions from leading intraoral scanner platforms and designing crowns, bridges, and implant restorations fully in CAD/CAM. Visit the NovaDent Labs homepage to learn more about our digital workflows. That means we see the impact of prep design on fit and chairside time every day.
When you submit a scanner-first crown case to NovaDent, you can expect:
- Case planning support on material selection (for example, zirconia vs lithium disilicate for a given prep).
- Digital previews and feedback if prep geometry or margin clarity risks remakes.
- ISO 13485 aligned workflows and consistent turnaround, typically 5–9 business days Australia‑wide.
If you’d like to standardise your scanner-first protocol across the practice – or you’re moving from analogue impressions and want to keep remakes under control – our team is happy to review a few recent cases with you and share what we see from the lab side.
To see pricing for zirconia, e.max and other crown options, you can Request Price List or submit your next digital case directly through the NovaDent Labs portal.
Bottom line: when clinical crown prep, scanner technique, and digital lab design are working from the same playbook, remakes become the exception rather than the weekly norm.
This article is intended for dental professionals as general educational information. Always rely on your own clinical judgment, local guidelines, and the instructions for use of specific materials and devices.
NovaDent Labs fabricates crowns and fixed prosthetic restorations for dental practices across Australia.
View Fixed Prosthetics →
Learn About Intraoral Scanners →
Submit a Case →
Who wrote this scanner-first crown prep guide?
The NovaDent Labs Clinical Team works alongside dentists and specialists across Australia on crowns, bridges, implants, dentures, and advanced appliances. Led by founder and clinician Dr Sanad Al Murayati, the lab combines chairside insight with digital design to help practices build predictable, scanner-first workflows that keep both patients and clinicians smiling.
Related Posts
You may also be interested in

TMJ Splint vs Night Guard: What’s the Difference?
How to Clean a Mouth Guard Properly Without Damaging It
Multi Unit Abutment Explained: Purpose, Benefits & Applications

NovaDent Has Arrived.
Previously VTS Dental Labs.
Same team
Same standards
New identity
Visit our new website