

TL;DR
- Modern denture types now sit on a spectrum: conventional and digital complete dentures, several classes of removable partial dentures, and implant-supported overdentures.
- Digital workflows compress lab steps but magnify the impact of jaw relations, tooth position, and occlusal scheme decisions made chairside.
- A clear, structured prescription and scan protocol cuts remakes more than any single material choice.
- Use printed or milled try-in dentures for complex aesthetics, challenging VDO, or implant cases.
- Standardise a chairside–lab checklist across your team to keep fit, occlusion, and aesthetics predictable.
Every dentist has had that denture case where the fit seems fine on the model, but once it’s in the mouth, the occlusion is off, the aesthetics feel “not quite right”, and you’re staring down a long adjustment appointment or a remake. In a digital world, those same issues appear faster – and sometimes more sharply – if the prescription isn’t crystal clear.
This guide looks at the main types of dentures you’re prescribing today and how they behave inside digital workflows, then gives you a practical chairside–lab checklist you can reuse across your team.
The goal: fewer surprises at insertion, fewer remakes, and a denture protocol that feels repeatable, whether you’re sending traditional impressions or full-arch intraoral scans. For a quick overview of our materials and design options, you can also refer to our removable prosthetics service page alongside this guide.
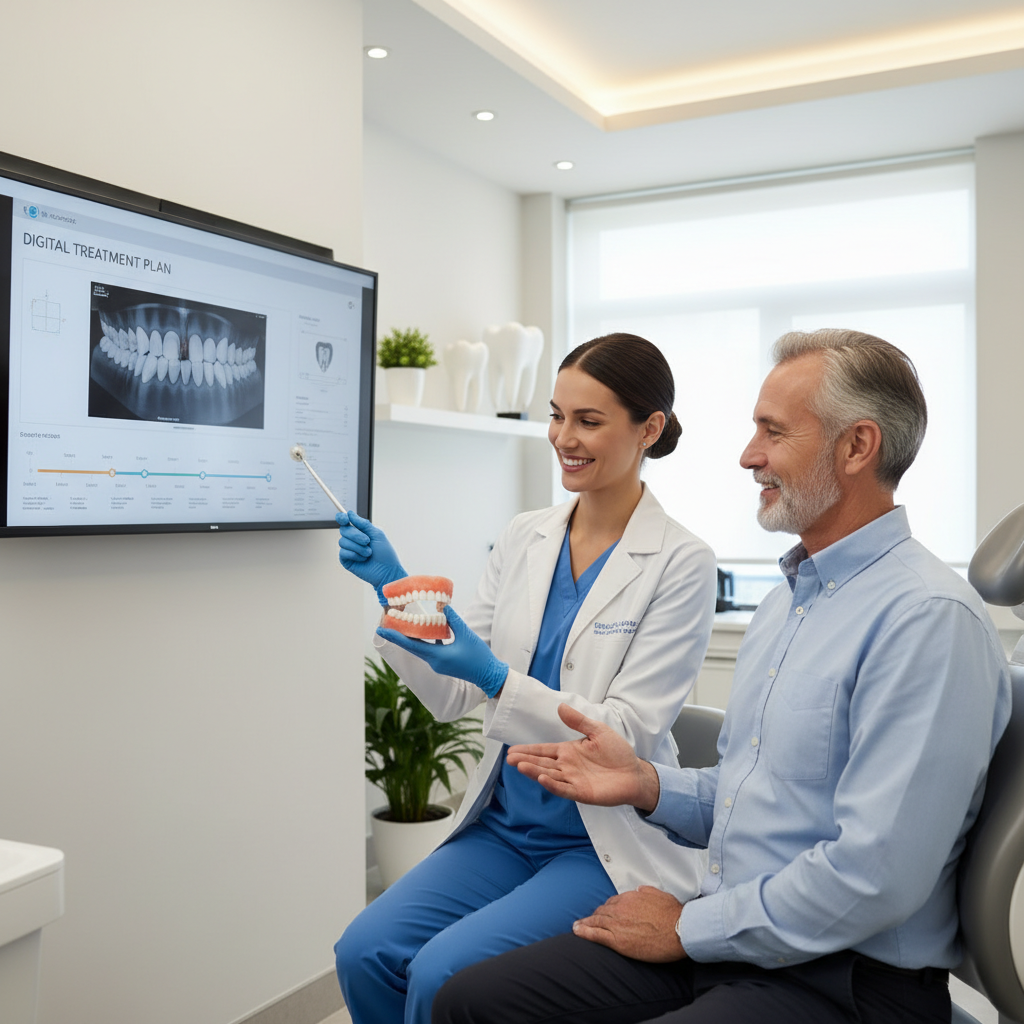
Clear conversations about denture type and digital planning help reduce adjustments and remakes.
What do we mean by modern “types of dentures”?
For digital prosthodontics, thinking in broad categories keeps planning simple. Most cases fall into three main groups.
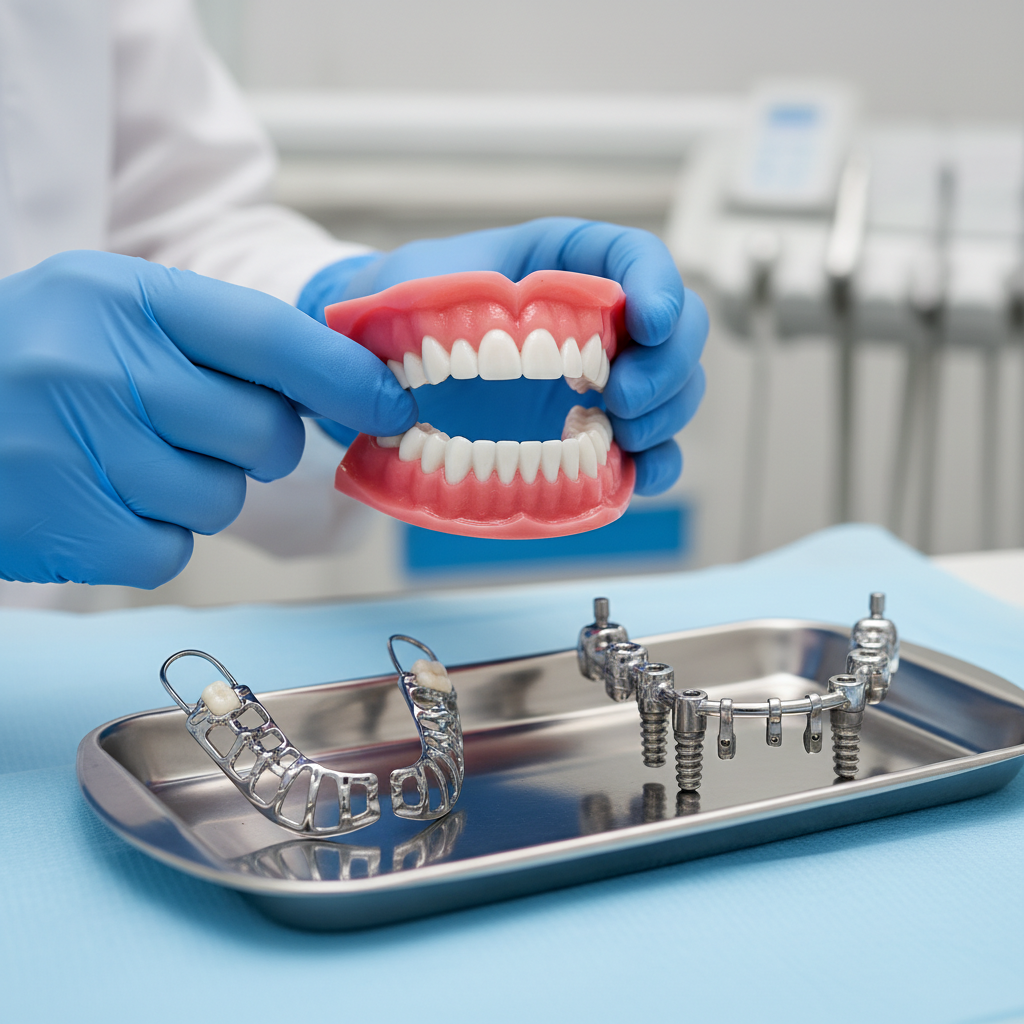
Modern prosthodontics spans complete dentures, partial dentures and implant-supported overdentures.
1. Complete dentures
- Conventional complete dentures – heat-cured PMMA, wax try-in, multiple visits.
- CAD/CAM-milled complete dentures – milled from pre-polymerised PMMA discs, with either conventional or digital impressions.
- 3D-printed complete dentures – often as try-ins, increasingly as final prostheses depending on material system.
2. Removable partial dentures (RPDs)
RPDs restore one or more missing teeth while preserving the remaining dentition. Common subtypes include:
- All-acrylic RPDs – often for interim use, with wrought clasps.
- Cobalt–chromium (Co–Cr) framework RPDs – conventional “workhorse” partial denture with major connector, rests, and clasps.
- Flexible RPDs – nylon-type materials for improved comfort and clasp aesthetics.
- Precision-attachment RPDs – partials supported by crowns with integrated precision attachments rather than visible clasps.
3. Implant-supported and implant-retained dentures
- Implant-retained overdentures – typically two to four implants with locator, ball or bar attachments; the prosthesis is removable by the patient.
- Fixed implant “hybrid” dentures – screw-retained, usually over four or more implants per arch; removable only by the clinician.
On paper, these categories sound familiar. Where things shift is how you record and prescribe them in a digital environment.
How digital workflows change denture prescriptions
In an analogue workflow, a vague script can sometimes be rescued by a skilled technician who knows your preferences. With fully digital dentures and digital workflows, the design is only as good as the data and instructions that arrive in the lab inbox.
At NovaDent, a typical digital denture case lands as:
- Upper and lower intraoral scans (or high-quality model scans).
- Bite scan or separate jaw relation record.
- Completed lab form plus any photos or reference files.
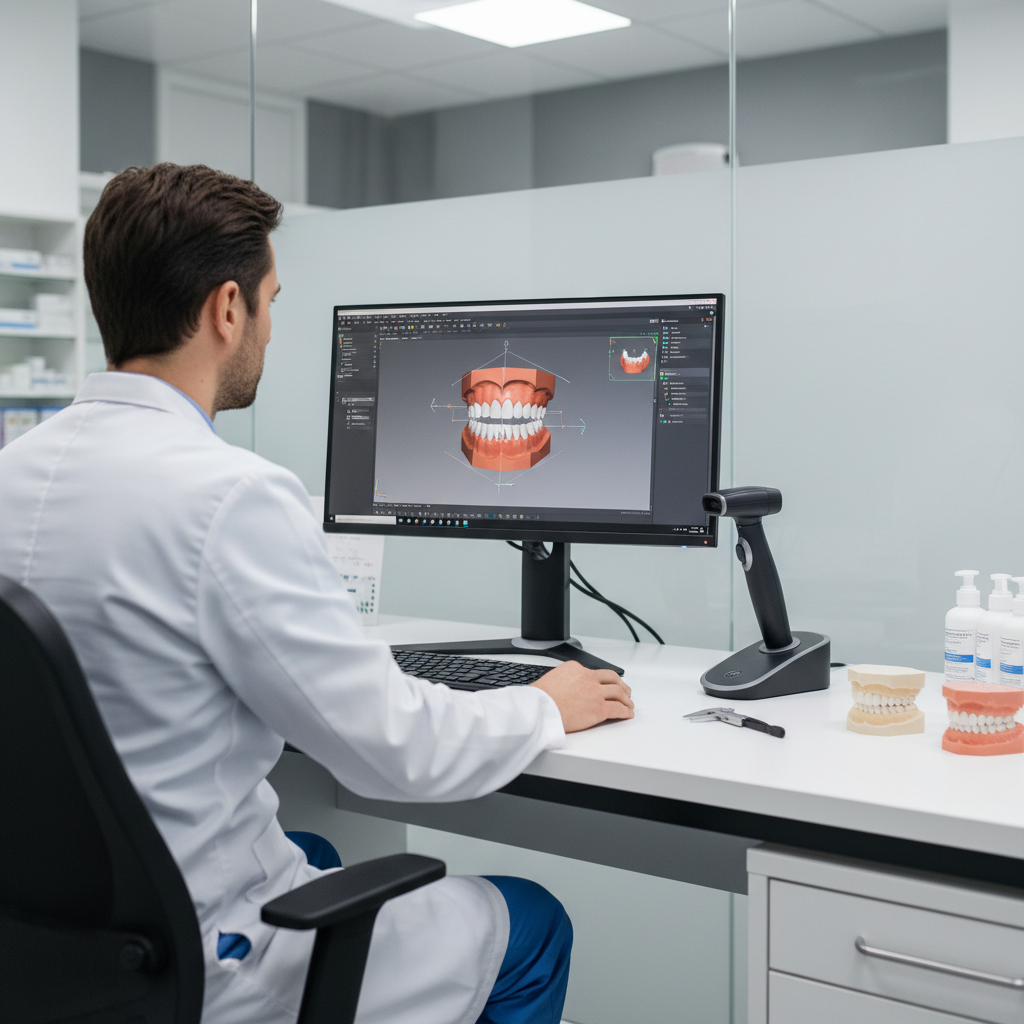
Digital records, clear prescriptions and CAD design work together to make denture fit more predictable.
“If it isn’t clear in the records or the prescription, it can’t be clear in the design.”
Because CAD/CAM workflows can reduce appointments and post-insertion adjustments, they tend to spotlight the few remaining sources of error: jaw relation, occlusal scheme, esthetic references and implant information.
A recent 40-patient randomized crossover trial found that digital maxillary complete dentures needed fewer post-delivery adjustment visits than conventional dentures (median one visit versus two), and 70% of participants preferred the digital option as their final prosthesis (digital denture satisfaction pilot study).
If your practice is moving more work to digital, it pays to standardise what your team captures and what the lab can reliably expect. You’ll feel this especially on full-arch cases and on Co–Cr RPD frameworks.
Types of complete dentures in digital workflows
Conventional vs CAD/CAM complete dentures
Both conventional and CAD/CAM dentures still rely on the same fundamentals: extension, border seal, jaw relation, and tooth position. The difference is how those records move through the lab.
- Conventional: analogue impressions and jaw relations, wax try-in, heat-cured final denture.
- Digital–analogue hybrid: digital impression, but analogue registration and try-in, followed by milled or 3D-printed denture.
- Fully digital: digital impression, virtual articulation, printed or milled try-in, then milled final denture from PMMA discs.
Case reports show fully digital complete dentures can maintain patient satisfaction while cutting down visits and post-delivery adjustments when records are accurate (fully digital denture workflow report).
If you are considering more digital complete dentures, you may find it useful to review NovaDent’s general denture services overview alongside this guide.
Key prescription details for complete digital dentures
For every full denture case, digital or not, make the following explicit on the lab form:
- Arch: maxillary, mandibular or both; immediate vs conventional.
- Vertical dimension: existing vs desired, and how it was determined.
- Occlusal scheme: e.g. bilateral balanced, lingualised, monoplane.
- Midline, canine line and smile line – ideally marked on photos or previous denture.
- Tooth mould and shade, plus any “do not want” notes (e.g. no diastemas).
- Palate design: full coverage, horseshoe, or relief zones.
- Special requests: speech concerns, phonetics issues, lip support goals.
When to insist on a try-in
A “no try-in” protocol can work for straightforward replacements that copy an existing denture. Once you’re changing VDO, occlusal plane or aesthetics, a printed or milled try-in is usually the safer path.
Good candidates for a digital try-in include:
- High smile line or demanding aesthetic expectations.
- Significant ridge resorption or uneven ridges.
- Patients transitioning from partial to full dentures.
- Any situation where you are guessing on lip support or phonetics.
Types of removable partial dentures and digital records
Acrylic RPDs
Acrylic partials are common as interim prostheses or where budget limits definitive options. They are usually straightforward for the lab, as long as clasp positions and survey lines are visible and documented.
Digital tips:
- Provide scans or models with clear undercut areas and rest seat preparations (if any).
- Mark planned clasped teeth and any teeth to be extracted.
- Share photos of the smile to help with tooth mould and shade selection.
Co–Cr framework RPDs
Co–Cr frameworks benefit the most from clear prescription and design discussion. Occlusal rests, guide planes and major connectors all hinge on your planned path of insertion.
Digital tips:
- Indicate the path of insertion and survey line, or request the lab to propose one.
- Specify clasp types (e.g. Akers clasp, I-bar) and abutment teeth.
- Confirm which teeth are strategic abutments and which are sacrificial.
- Highlight any mobile teeth or guarded prognoses.
Flexible partial dentures
Flexible RPDs are often chosen for comfort or aesthetics where metal clasps would show. They still need a thoughtful design, particularly around tissue undercuts and occlusal forces.
Precision-attachment RPDs
Precision-attachment partials rely on crowns with built-in male or female components and corresponding housings in the denture. They can provide excellent retention and hide metalwork, but tolerate far less guesswork in planning.
For these cases, share detailed crown prep scans, planned attachment systems, and discuss space requirements with the lab early. You can find examples of advanced attachment-based work in our implant cases gallery section.
For help matching designs to each case, you can also review NovaDent’s removable prosthetics options when planning RPDs.
Implant-supported dentures and overdentures
Two-implant mandibular overdentures
A lower denture retained by two implants has become a widely recommended baseline for mandibular edentulism, offering clear gains in retention and function over a conventional lower denture.

Implant-retained overdentures can significantly improve stability and patient satisfaction compared with conventional dentures.
A 10-year randomized clinical trial of 121 edentulous patients reported that those treated with two-implant mandibular overdentures had higher satisfaction scores than conventional denture wearers at 1, 5, and 10 years, with differences of roughly 1–2 points on a 10-point scale in favour of the implant group.
Prescription essentials:
- Exact implant positions (scan bodies, CBCT-based report or stent data).
- Attachment type (locator, ball, bar) and manufacturer system.
- Desired level of tissue contact and relief.
- Space analysis: interarch distance for attachment housing and acrylic thickness.
Bar overdentures and fixed hybrids
Bar overdentures and fixed hybrids need extra attention to framework design, hygiene access and phonetics. A verification jig and try-in stage are highly recommended on both arches.
NovaDent can help you sequence these cases with a staged plan: immediate denture or provisional, verification, bar design, try-in and final prosthesis. See our implant restoration services for related options.
Chairside–lab prescription checklist for predictable fit
Here is a practical checklist you can adapt into a laminated sheet or practice protocol. It works whether you send scans or analogue impressions.
1. Before you scan or take impressions
- Clarify the prosthesis type: complete, RPD, overdenture, fixed hybrid.
- Decide the occlusal scheme and VDO target.
- Plan extractions, immediate placement and timing of relines.
- Take pre-op photos: full-face smile, retracted frontal, lateral views.
2. During records and jaw relations
- Capture a stable jaw relation at the chosen VDO (wax rims, gothic arch, or digital bite scan).
- Mark midline, canine line, and smile line on rims or existing dentures.
- Check phonetics (“F”, “V”, “S” sounds) while adjusting rims or trial bases.
- Scan or record borders and functional movements where possible.
3. On the lab form and uploads
- State the denture type and material preference clearly.
- Attach photos and any reference prosthesis scans.
- Describe the patient’s expectations in plain language (e.g., “wants lighter tooth shade than current RPD”).
- For implants: include implant brand, platform, diameter and any multi-unit abutment details.
4. At the try-in appointment
- Confirm midline, occlusal plane and lip support with the patient sitting upright.
- Use articulating paper and shimstock to test occlusion in centric and excursions.
- Record any speech concerns precisely (“lisps on S” rather than “speech off”).
- Annotate photos to show desired changes before approving the final.
Common remake triggers and how to prevent them
Many remakes stem from the same handful of issues. The table below summarises frequent problems and simple prevention strategies.
At NovaDent, we saw this play out in a practice that was remaking several immediate mandibular dentures each month. After we helped the team standardise jaw-relation records, photos and implant information using a simple checklist, the next series of similar cases required only minor occlusal adjustments and no full remakes.
Choosing the right denture type for each case
There is no single “best” denture. Instead, combine the patient’s anatomy, expectations, budget and your preferred workflow.
- Low smile line, limited funds: conventional or digital complete denture, acrylic RPD.
- High function demands, moderate budget: Co–Cr RPD, two-implant mandibular overdenture.
- High aesthetic demand: digital complete or partial denture with staged try-ins and detailed photo documentation.
- Maximum stability and fixed feel: fixed implant-hybrid dentures, after careful planning and consent.
Over time, tracking your own remake and adjustment data will show which combinations of denture type, material, and workflow perform best in your patient base.
How NovaDent Labs supports digital denture workflows
NovaDent Labs works with clinics across Australia using both analogue and digital records. We accept digital impressions from leading intraoral scanners via our connection guide and can help you standardise your denture prescriptions so every clinician in the practice works from the same playbook.
- Case planning support for complete dentures, RPDs and implant overdentures.
- Digital designs with printed or milled try-ins where appropriate.
- Transparent turnaround guidance and communication on each case.
- Templates for denture and RPD prescriptions your team can adapt.
If you’d like to compare options or standardise your denture menu, you can request our price list and speak with the lab team about upcoming cases.
Key takeaways
- Be specific about denture type, occlusion and aesthetics in every prescription.
- Use digital try-ins strategically for complex or high-expectation cases.
- Document jaw relations and reference lines as carefully as you would for a complex fixed case.
- Review your own remake patterns and refine the checklist with your lab partner.
Frequently asked questions
Which type of denture is most predictable in a fully digital workflow?
Predictable results usually come from straightforward replacement complete dentures where you are copying a stable existing prosthesis, or from well-planned two-implant mandibular overdentures with accurate records. Complex changes in VDO, occlusal scheme or aesthetics benefit from a staged try-in rather than a “no try-in” approach.
When should I insist on a try-in for digital complete dentures?
Insist on a printed or milled try-in whenever you are changing VDO or occlusal plane, managing a high smile line, working with uneven ridges, transitioning from partial to full dentures, or unsure about lip support and phonetics.
Can I mix analogue and digital records in the same denture case?
Yes. Many cases use a hybrid workflow where conventional impressions and jaw relation records are combined with scanned models or intraoral scans. The key is to make it clear in your lab prescription which records are the primary reference for fit, occlusion and aesthetics.
How do I choose between acrylic, Co–Cr and flexible RPDs in a digital workflow?
Use acrylic RPDs mainly as interim or budget options, Co–Cr frameworks when you need long-term rigidity and controlled clasping, and flexible partials where clasp aesthetics and patient comfort are the main priorities. Whatever you choose, clear design instructions and good digital records make the outcome more predictable.
This article is for general professional education only and does not replace your own clinical judgment, local guidelines, or manufacturer instructions for use.
Related Posts
You may also be interested in

TMJ Splint vs Night Guard: What’s the Difference?
How to Clean a Mouth Guard Properly Without Damaging It
Multi Unit Abutment Explained: Purpose, Benefits & Applications

NovaDent Has Arrived.
Previously VTS Dental Labs.
Same team
Same standards
New identity
Visit our new website