

For dental professionals in Sydney & NSW. General information only – does not replace your own clinical judgment or local guidelines.
Every Sydney dentist has had that sinking feeling. The denture that looked fine on the model rocks in the mouth, the border over-extends, and you’re silently calculating how you’ll squeeze a remake into an already-packed week. For many of those cases, a well-executed wash impression denture protocol, combined with a reliable digital lab workflow, would have turned that remake into a single, confident insert.
This guide is written for Sydney and wider NSW practices that want fewer surprises at fit, smoother communication with their lab, and a chairside process that matches today’s digital denture workflows and modern removable prosthetics.
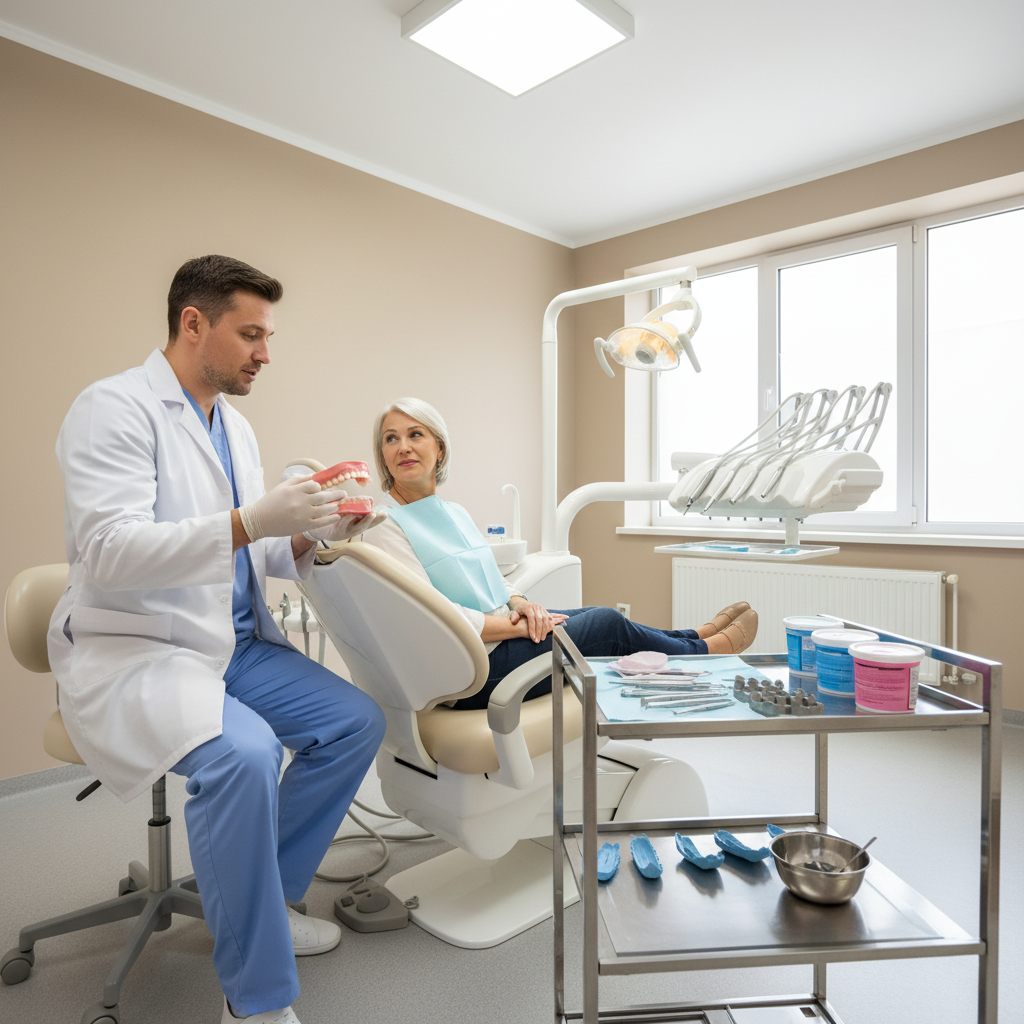
A clear chairside conversation about denture fit and wash impression options builds trust and sets expectations.
TL;DR – Quick Summary for Busy Clinicians
- Use a wash impression on reasonably fitting dentures where base adaptation or border extension needs refinement, not where occlusion or tooth position is fundamentally wrong.
- Control space: relieve and vent the fitting surface so your impression material forms a uniform, functional mucostatic/mucodynamic layer rather than a hydraulic mess.
- Border mould first, then take the wash under functional movements with the patient seated upright; verify extension, midline, OVD and CR before dismissing.
- Digital era twist: scan the relined denture or impression, send a complete data set (photos, bite, Rx), and agree remake thresholds with your lab.
- Lock the protocol in as a checklist, and partner with a lab that can support both conventional and digital paths – not just “make it work” on the bench.
What is a wash impression for dentures – and why does it still matter?
A wash (functional) impression uses the patient’s existing denture as a custom tray. You relieve the fitting surface, apply a thin layer of low-viscosity material, and capture the tissues under near-functional loading. In many cases, this gives a more representative record than a static mucostatic impression alone, particularly for patients who actually wear their dentures most of the day.
The Australian Dental Association notes that well-fitting dentures support speech, chewing and overall comfort. A small loss of adaptation – from resorption or processing distortion – can undermine that quickly. A wash impression lets you “rebase the accuracy” without starting the entire case again, provided the tooth position, occlusal scheme and aesthetics are still acceptable.
In a digital lab like NovaDent, a functional wash impression is often the entry point into a digital denture or rebase workflow, because it can be scanned and used as the basis for design. If you’re new to our team, the About NovaDent Labs page outlines how we support digital dentures for Sydney and NSW practices.
When should you choose a wash impression instead of a full remake?
As a rule of thumb, a wash impression is appropriate when the problem is fit, not fundamentals. Good candidates tend to share these features:
- Denture is less than 5–7 years old and made on a reasonably accurate master impression.
- Tooth arrangement, vertical dimension and centric relation are still clinically acceptable.
- Patient reports looseness, loss of suction or mild rocking, but no major phonetic or aesthetic complaints.
- Borders are slightly under- or overextended, but can be adjusted and polished before the impression.
- Tissues are healthy or have been stabilised with temporary liners and tissue conditioning.
On the other hand, consider a new denture or staged remake if you’re facing any of these:
- Significant OVD loss, anterior collapse or obvious change in jaw relations.
- Long-standing dentures with heavy wear, fractured bases or repeated repairs.
- Major aesthetic changes requested that will alter tooth position or base contour.
- Severe ridge resorption needing border rethinking rather than just extension tweaks.
When in doubt, many NSW clinicians use a short “trial wash” on one arch only to see whether a functional impression truly stabilises the base before committing the patient to a full reline or remake. For case planning help, you can always reach out to the NovaDent team via our contact page.
Chairside protocol: step-by-step wash impression for complete dentures
The details vary by material and personal preference, but a consistent, repeatable protocol makes the difference between a quick success and a remount-plus-remake.
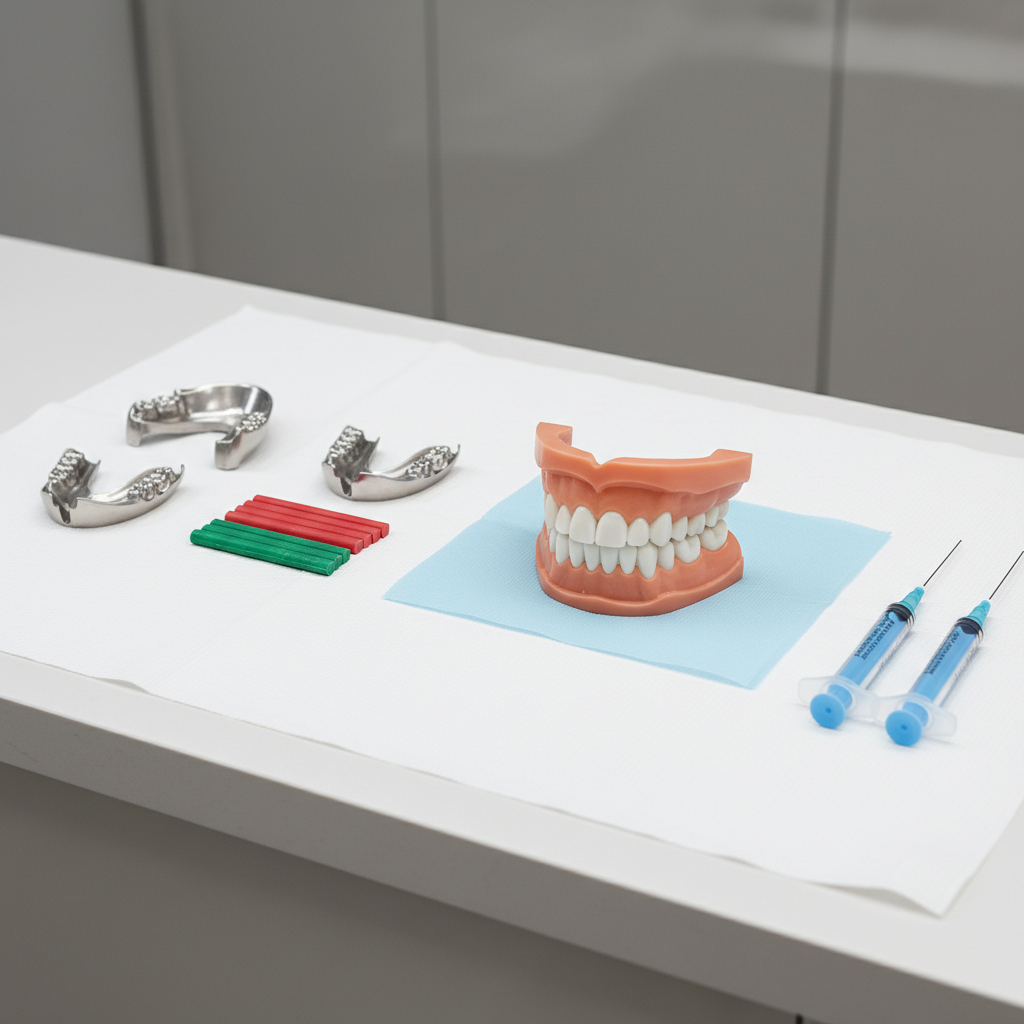
Having all materials for the wash impression denture protocol prepared reduces chairside stress and errors.
1. Case assessment, consent and preparation
- Check medical history, mucosal health and any recent extractions. Delay if tissues show significant inflammation or hyperplasia; treat first.
- Mark key references: midline, canine lines, smile line and existing OVD/CR records if available.
- Adjust and polish overextended borders; repair sharp edges and undercuts that could lock in the impression.
- Explain to the patient that this is a functional impression and may feel “squishy” while setting; outline possible follow-up relines or remake if the wash proves inadequate.
2. Relieve and vent the fitting surface
This is where many remakes are born. Inadequate relief creates a hydraulic effect, displaces mucosa and shortens borders.
- Uniformly relieve the tissue surface (especially over firm mucosa) by ~0.5–1 mm, preserving posterior palatal seal anatomy where appropriate.
- Drill multiple small vent holes in the palate and non-critical areas to allow excess material to escape.
- Rinse, dry and check that no sharp acrylic remains.
3. Border moulding under function
Border control is still analogue dentistry at its best. Use a low-fusing compound or heavy-body elastomer:
- Apply compound to the border areas only.
- Insert the denture, and guide the patient through functional movements: pucker, smile, open slightly, move tongue to corners, protrude tongue, swallow.
- Flame, temper and repeat until you’re satisfied with the sulcus depth and width.
4. Take the wash impression
Both zinc oxide eugenol pastes and medium/light-body elastomers are used successfully for wash impressions; elastomers are often favoured in undercut or implant-assisted cases.
- Dry the tissues gently; do not desiccate.
- Load a thin, even layer of impression material into the denture base, avoiding large “blobs”.
- Seat the denture in the established path of insertion with firm, steady pressure.
- Hold the denture in position while the patient repeats gentle functional movements; keep them upright to approximate normal loading.
- After setting, break the seal carefully and inspect: no show-through on key load-bearing areas, crisp border detail, and no obvious voids or drags.
If you see significant show-through or voids, resist the temptation to “patch”. It’s usually faster – and more accurate – to repeat the wash.
5. Verify occlusion, OVD, and records
A beautifully accurate base with a scrambled bite still ends in a remake. Before the patient leaves:
- Check that CR and OVD are unchanged from pre-op records; re-record if needed.
- Mark new reference lines if you anticipate changing tooth mould or shade.
- Capture intraoral photos (frontal at rest, full smile, 45° views) with dentures in situ.
- Record shade and mould, or confirm if you are maintaining the existing setup.
Include a clear note to the lab if you accept the current occlusal scheme or want a remounted try-in. At NovaDent, we recommend a try-in for significant changes, even when the base comes from a high-quality wash impression.
From chair to lab: prescriptions, scanning and records
A strong wash impression is only half the story. The rest is in the data your lab receives and how they’re set up to work with it.
What to send with your wash impression dentures
- The denture with fully set wash impression, clearly dried and disinfected (per NHMRC/ADA infection control guidance.
- Bite records (CR and OVD), ideally with a silicone registration and notation of facial midline and smile line.
- High-quality photos: full-face, retracted, and occlusal views with dentures in place.
- Completed Rx: indicate whether you want rebase only, full remake to the new base, or a trial setup.
Digital twist: when and how to scan
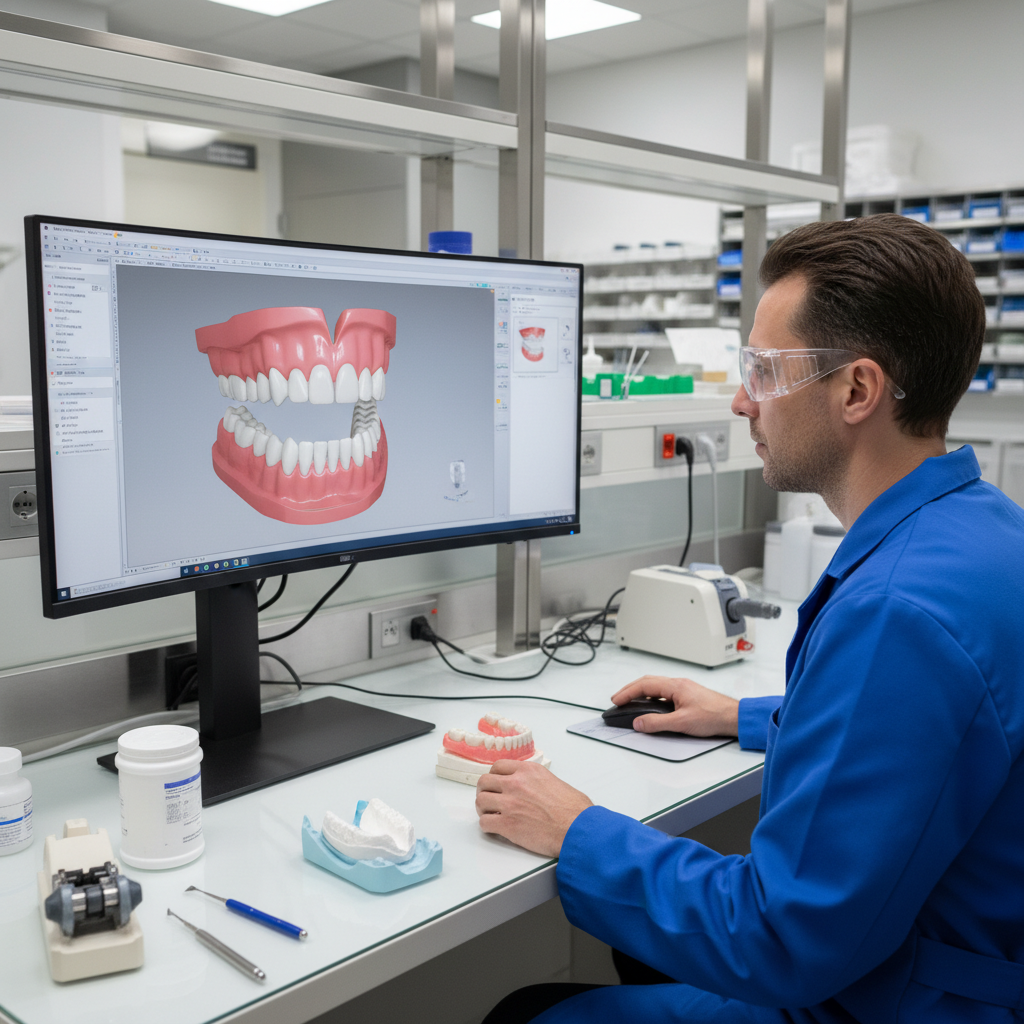
Scanning the functional wash impression denture links your analogue records to a predictable digital workflow.
Because intraoral scanners still struggle with mobile mucosa in edentulous arches, many prosthodontic workflows scan the relined denture or stone cast rather than the bare ridge (systematic review of digital impressions for edentulous arches). For NovaDent cases, two straightforward options work well:
- Chairside IOS scan of the denture in situ and out of the mouth (upper, lower, and occlusion). Follow manufacturer protocols for scanning removable appliances.
- Lab scan of the wash impression denture or poured cast using a desktop scanner.
Either way, confirm with your lab which file formats they accept. For NovaDent cases, we accept digital impressions via connected intraoral scanners or secure file upload; check our scanner connection guide or contact the lab to confirm supported workflows.
How wash impressions fit into digital denture workflows
For many fully edentulous arches, the most predictable “digital denture” is still built on a conventional functional impression.
A practical hybrid approach for Sydney and NSW practices looks like this:
- Take a precise functional wash impression in the existing denture.
- Send the denture to the lab (with digital photos and bite) or scan it chairside and upload the data.
- The lab scans/designs on that functional base and fabricates a milled or printed denture with improved accuracy.
This hybrid approach gives you the best of both worlds: the tissue accuracy of a functional impression and the repeatability of a digital file, with a digital record that simplifies future repairs, copies and minor occlusal or aesthetic adjustments.
Common wash impression errors that trigger remakes – and how to prevent them
A few recurring issues account for most failed wash impressions we see at the lab bench. The good news: all of them are fixable with small tweaks.
A
simple way to track whether your changes are working is to measure your own denture remake and major adjustment rate each quarter. Many labs and consultants treat around 3–5% as a reasonable benchmark for removable prosthetics when both parties follow documented protocols (guidance on evaluating dental lab pricing and performance).
If your rate is higher, review a small run (say, 20–30 cases) with your lab to separate chairside issues (records, impressions, bites) from design or manufacturing causes; fixing even one or two recurring chairside problems can free up hours of surgery time per month.
How NovaDent supports Sydney & NSW practices with wash impression cases
Because NovaDent started as a clinician-led lab, we see wash impressions as part of a bigger partnership – not an isolated technical step. For NSW practices, that usually means:
- Pre-case planning: Email or call with photos; we’ll help you decide whether a wash impression, reline or full remake is the most sensible path for the patient and your schedule.
- Digital-ready workflows: Whether you post the denture or upload IOS/desktop scans, our CAD/CAM workflows are aligned with ISO 13485 and TGA expectations for dental devices.
- Feedback loop on remakes: Agree with your lab on a simple way to log remake causes and share feedback in both directions to identify chairside vs bench issues.
If you’d like to standardise your removable work with a single digital-focused lab, you can request our price list and talk to our team about sample wash-impression prescriptions and recommended lab forms.
Printable checklist: wash impression denture protocol
Keep this as a one-page reference near your surgery or in your practice manual.
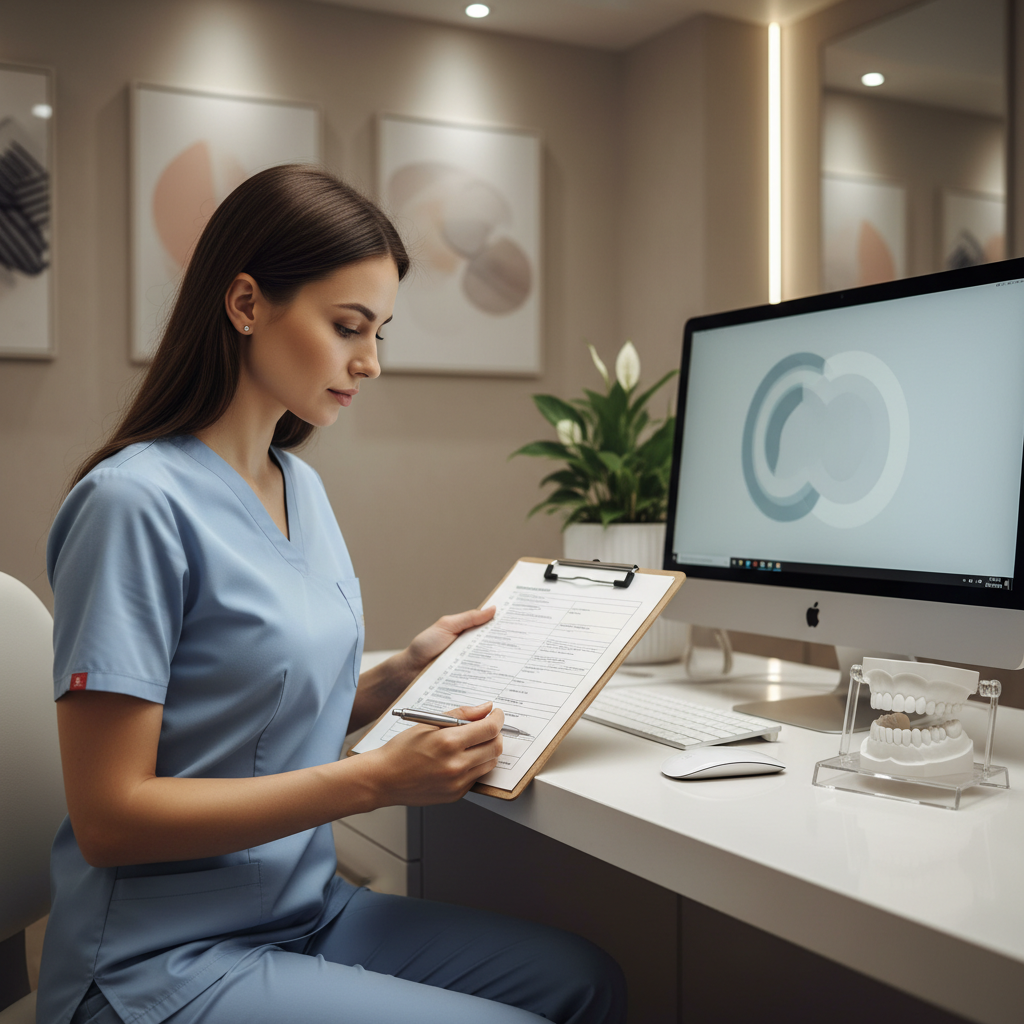
A simple, visible checklist helps your whole team apply the wash impression denture protocol consistently.
- ✔ Confirm case is suitable (fit problem, not fundamental occlusion/aesthetics).
- ✔ Stabilise tissues; address inflammation before impression day.
- ✔ Adjust and polish borders; remove undercuts that could lock in.
- ✔ Relieve fitting surface 0.5–1 mm; add vent holes.
- ✔ Thorough border moulding with compound or heavy-body elastomer.
- ✔ Load a thin, even layer of wash material; seat the patient upright.
- ✔ Guide functional movements while material sets.
- ✔ Inspect impression (no major voids/show-through; well-defined borders).
- ✔ Record CR/OVD again if there is any doubt.
- ✔ Take photos with dentures in situ; complete detailed Rx.
- ✔ Post denture to the lab or scan and upload files the same day, then submit a case with a complete prescription.
Key takeaway: A consistent, well-documented wash impression protocol – linked to a digital-capable lab – is one of the simplest ways to shrink denture remakes while keeping appointments and costs predictable for your practice.
Clinical Disclaimer
This article is for registered dental professionals. It provides general educational information and does not constitute a diagnosis, treatment advice, or a substitute for your own clinical assessment of individual patients.
Related Posts
You may also be interested in

TMJ Splint vs Night Guard: What’s the Difference?
How to Clean a Mouth Guard Properly Without Damaging It
Multi Unit Abutment Explained: Purpose, Benefits & Applications

NovaDent Has Arrived.
Previously VTS Dental Labs.
Same team
Same standards
New identity
Visit our new website