
Working out how to choose dentures for a patient can feel less like ticking boxes and more like balancing a dozen moving parts: anatomy, expectations, prognosis, time, and budget, to name a few. One misstep and you meet the remake that eats a whole afternoon clinic session.
The good news: once you turn denture choice into a simple, repeatable framework, cases become calmer for you and far more predictable for your patients. In this guide, we share a practical way to match the denture type to the patient in front of you, choose teeth that suit their face and function, and structure immediate denture instructions that support healing. Along the way, we point out where a lab like NovaDent Labs can shoulder some of the planning.
TL;DR:
- Start with patient goals, health, and prognosis, not the appliance you prefer.
- Match denture type to anatomy, remaining dentition, and long term plan (including implants).
- For tooth choice, anchor on face, photos, and previous dentures, then refine mould, shade, and occlusion with your lab.
- For immediate cases, plan backwards from surgery and script clear written instructions for patients.
- Lean on digital workflows and a consistent lab partner to reduce chairside adjustments and remakes.
1. Start with the patient, not the prosthesis
Before you think about materials or occlusal schemes, step back and map the patient’s situation. That first five minutes of listening usually decides whether the case becomes one of your favourites or one of your war stories.
Key questions that guide denture choice:
- Goals: Is the priority chewing ability, looks, or both? How urgent is the timeline?
- Medical history: Medications, xerostomia, diabetes, radiotherapy, or conditions affecting wound healing and tolerance of surgery.
- Manual dexterity and cognition: Can they manage clasps, hygiene, and night time routines?
- Previous denture experience: Where did past dentures fall short of pain, looseness, speech, aesthetics?
- Financial constraints and long term plan: Is this a stepping stone towards implants, or likely the “last set” for this patient?
“The best denture for this mouth” is rarely a single product; it is the best compromise between anatomy, prognosis, and what the patient can live with day in, day out.
Document this early. A short paragraph in your notes summarising goals and constraints gives your lab vital context. When you submit a denture case to a removable prosthetics service, that background lets us suggest options instead of simply following a tick box prescription.
For patient facing backgrounds on dentures that you can share from the waiting room or website, the American Dental Association’s denture overview is a helpful plain language resource.
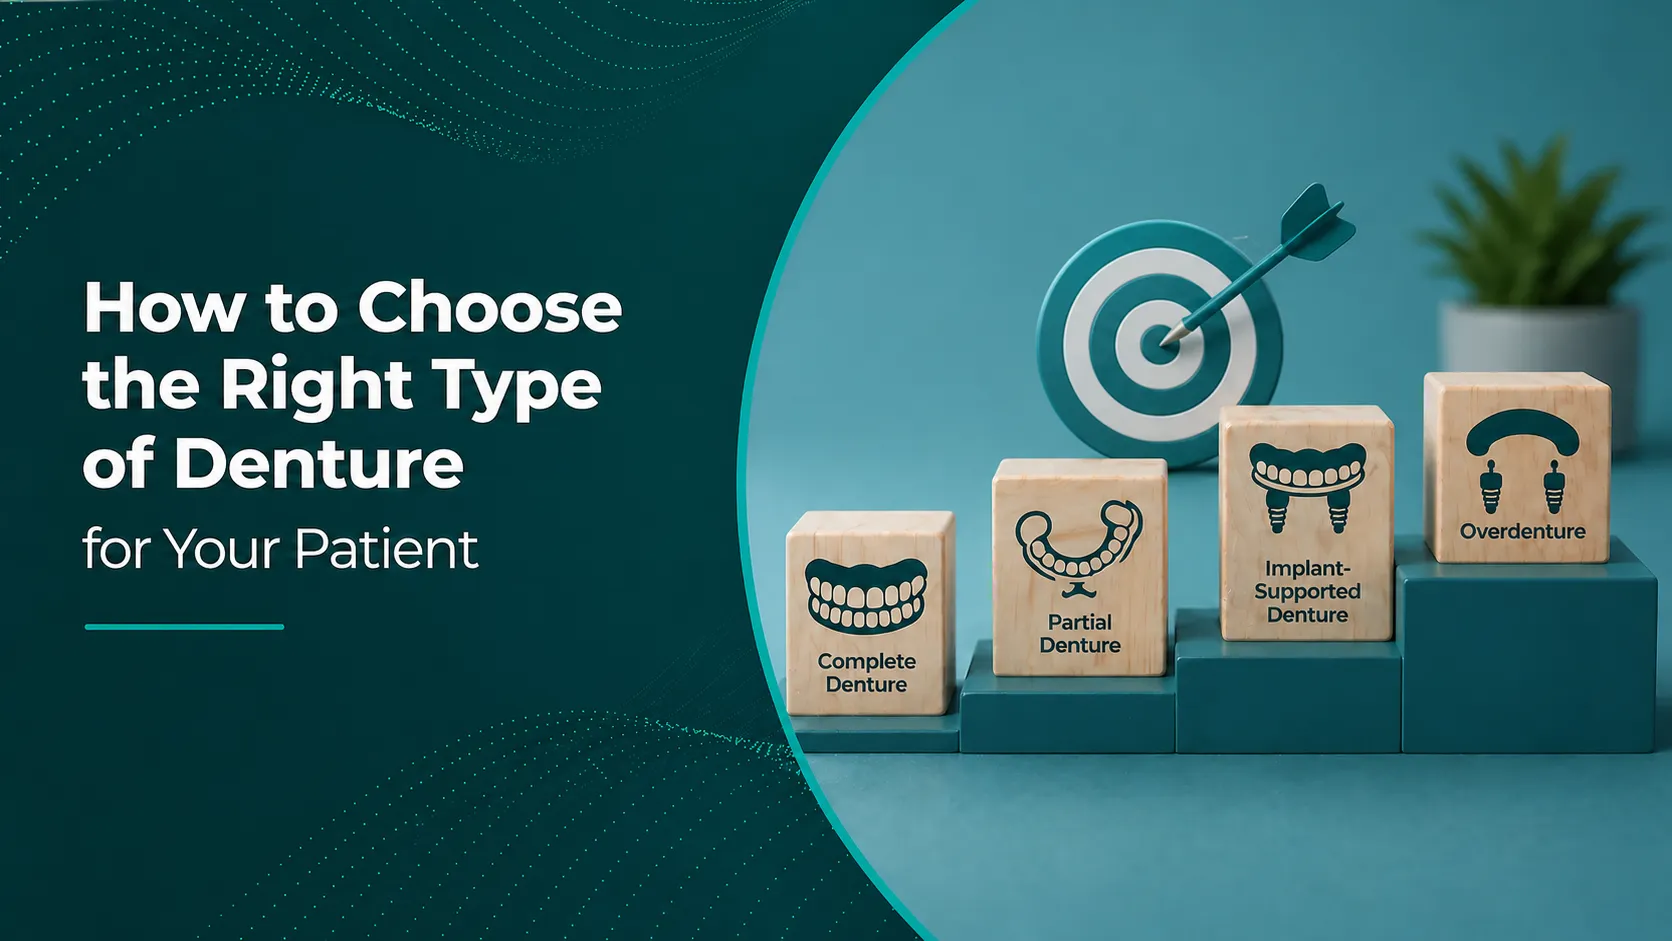
2. Key denture types and when they fit best
Once you understand the person in your chair, you can match them to a denture category. Think in terms of indication, anatomy, and how stable the situation is likely to be over the next few years.
Full, partial, and implant retained dentures each suit different clinical scenarios.
Conventional complete dentures
Ideal for fully edentulous arches with reasonably favourable anatomy and settled ridges. They shine when the patient can tolerate a few appointments and is open to try ins and adjustments.
- Best for: Stable ridges, patients who can adapt, those who want to fine tune aesthetics at try in.
- Watch for: Marked resorption, flabby ridges, severe gag reflex, or unrealistic expectations about retention.
Immediate complete dentures
Immediate dentures protect extraction sites, preserve appearance, and keep patients social. They come with trade offs: more chairside relines, less precise initial fit, and a high chance of needing a definitive denture later.
- Best for: Patients who cannot manage an edentulous phase for work, social, or psychological reasons.
- Watch for: Severe periodontal disease with unpredictable tissue changes, and patients who struggle with post-op instructions.
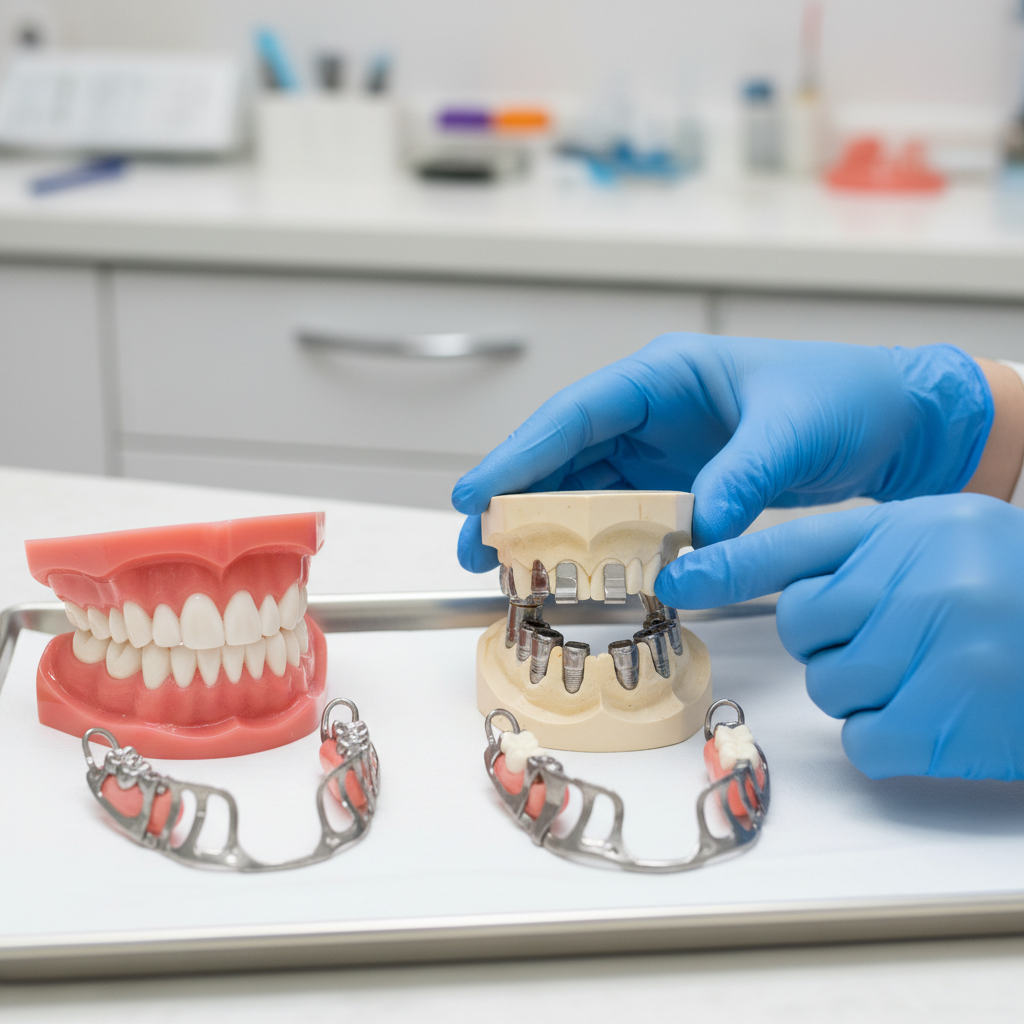
Removable partial dentures (RPDs)
RPDs span everything from simple acrylic “interim” appliances to cobalt chrome frameworks designed for the long haul.
- Acrylic RPDs: Flexible in design and easy to modify. Suited to interim use, guarded prognoses, or when extractions are staged.
- Cobalt chrome RPDs: More stable, thinner, and kinder to soft tissues when designed well. Indicated when remaining teeth and periodontal support look sound.
Well-planned RPDs demand tight communication with your lab on survey lines, clasp design, and planned abutments. Our technicians at NovaDent’s RPD department can suggest clasping options or alternative frameworks if you share up-to-date radiographs and periodontal information.
Implant retained overdentures
For many lower arches, two to four implants with an overdenture give a step up in function and patient satisfaction compared with conventional dentures, especially where ridge form is compromised.
- Best for: Patients who can tolerate implant surgery and are motivated to maintain hygiene.
- Watch for: Smoking, uncontrolled systemic disease, and patients with limited ability to attend for maintenance of attachments.
When you plan these cases, looping your lab early helps with restorative driven implant positioning and attachment selection. The National Institutes of Health host open access reviews that you can reference for patient consent discussions.
Digital and CAD/CAM dentures
Digital dentures, whether milled or printed, pair nicely with intraoral scanners and offer repeatability, quick remakes, and efficient workflows once you and your lab settle on protocols.
At NovaDent we accept major scanner file formats and keep designs on file, which helps when a patient drops a denture or needs a spare set. You can read more about our digital denture workflows and how they slot into 5–9 business day turnarounds.
3. How to choose teeth for dentures
Tooth choice is where patients scrutinise your work in the bathroom mirror. They may not know what a free end saddle is, but they know if the teeth look “like them”.
Gather reference material
- Pre-extraction photographs where the patient liked their smile.
- Old dentures that were “almost right”, even if they wore poorly.
- Notes on speech sounds that matter for their work (teachers, call centre workers, performers).
Shape, size, and arrangement
Classic guides still help: broader faces suit squarer forms; long, narrow faces tend to harmonise with longer, more tapered teeth. That said, let the patient’s self image lead the discussion. Some want a naturally worn look; others request a brighter, more regular arrangement that still stops short of a “Hollywood” set.

Share your photos with the lab and ask for mold suggestions rather than picking in isolation. Our team often proposes two or three mould options within your stated size and arch constraints, saving chairside time at try-in.
Shade selection
- Match the sclera and skin tone rather than chasing the lightest tab.
- Factor in age; a very bright shade on a 75 year old often looks distracting rather than youthful.
- Discuss stain character and surface texture if the patient wants a more lifelike appearance.
Occlusal scheme and material
Your choice between anatomic, semi anatomic, or monoplane schemes depends on ridge form, neuromuscular control, and opposing dentition. For many full denture cases, a lingualised scheme offers a practical balance of aesthetics and simplified occlusal adjustment.
Share opposing arch details and parafunctional habits on your lab sheet. When NovaDent designs your case digitally, we can propose schemes and materials that align with the occlusal goals you describe, instead of guessing from a tick in a single box.
4. Occlusion, VDO, and functional planning
Even beautifully set teeth will disappoint if the vertical dimension and occlusion are off. A small error here ripples through speech, comfort, and facial aesthetics.
- Vertical dimension: Combine facial measurements, phonetics, and freeway space to test your chosen VDO. Habitual patterns from previous dentures can mislead, so trust your records and patient feedback.
- Centric relation: Whether you record with wax rims, central bearing devices, or other tools, consistency matters more than technique branding.
- Try in: Use the try in to stress test speech, lip support, and smile line with the patient standing, talking, and laughing, not just reclined in the chair.
Sharing videos or clear photos at try in can help your lab refine tooth position if minor shifts are needed. If you send digital records through our digital workflow portal, we store them for future reference so adjustments become easier with each subsequent case.
5. Immediate dentures: case selection and workflow
Immediate dentures save patients from walking out edentulous, but they need a bit more planning up front and realistic conversations about the “healing” phase.
Good candidates for immediate dentures
- Anterior teeth with poor prognosis but where appearance must be maintained.
- Patients with strong cosmetic concerns or public facing roles.
- Healthy enough for extractions and post-op visits, and able to follow written guidance.
Key planning steps
- Record pre-extraction occlusion, VDO, and aesthetics carefully photos and facebow records pay for themselves later.
- Discuss with your lab how many posterior teeth can stay during impressions and jaw relation records.
- Agree with the lab on expected tissue loss and whether a surgical template or duplicated denture would help.
- Set patient expectations about relines, possible need for a definitive denture later, and additional fees.
For background literature on immediate dentures and outcomes, the Cochrane Library hosts systematic reviews you can reference when discussing options with patients.
6. Immediate denture instructions you can share
Clear, written immediate denture instructions keep patients calmer on day one and reduce out of hours calls. You can customize a standard template for your practice and update it as your protocols change.
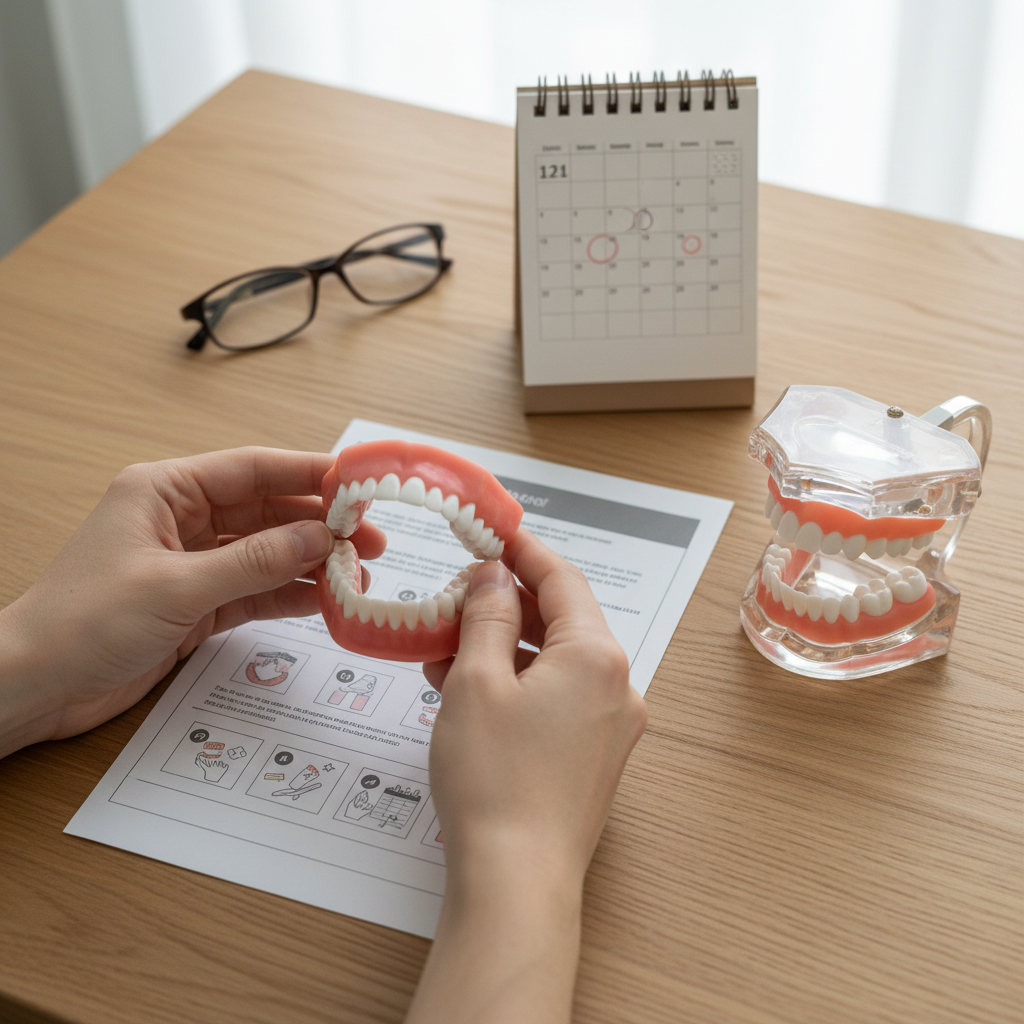
Simple written aftercare plus scheduled reviews supports smoother immediate denture healing.
Common points to cover (adapt to your local guidelines and the specific case):
- First 24 hours: Keep the denture in place unless you have been told otherwise. Report excessive bleeding or unrelieved pain.
- Pain control: Use prescribed or recommended analgesia as directed. Encourage patients to phone the practice if pain escalates rather than “toughing it out”.
- Diet: Start with cool, soft foods cut into small pieces. Chew slowly and evenly on both sides.
- Oral hygiene: Rinse gently with water or a salt solution once bleeding settles. Clean the denture carefully with a soft brush over a basin of water to reduce the risk of fracture if it slips.
- Sleeping: Explain your protocol on overnight wear during the first nights, and when to begin removing the denture at night.
- Follow up visits: Spell out when you expect to see them for checks, adjustments, and relines.
Many clinicians in Australia also point patients toward national resources, such as the Australian Dental Association, for general oral health information that reinforces your advice.
This section is for dental professionals. It does not replace your clinical judgement or local prescribing and post operative protocols.
7. What patients look for when they search “how to choose a dentist for dentures”
Patients rarely ask for lingualised occlusion or cobalt-chrome frameworks. They search online for trust: “painless”, “kind”, “listens”, “takes time”. When someone types “how to choose a dentist for dentures”, they are often weighing three things:
- Clear explanations: Does the dentist explain options (including pros, cons, and costs) in a way they understand?
- Outcome photos and stories: Do they see cases that look like them, not just perfect marketing smiles?
- Joined up care: Does the practice feel organised, with smooth lab collaborations and predictable timelines?
A consistent relationship with a lab that understands your style helps here. When your dentures arrive looking and fitting like your treatment plan promised, reviews and word of mouth follow. At NovaDent, we encourage dentists to share their usual protocol with us from impression preferences to try in style so we can keep results steady from case to case.
8. Quick chairside checklist for how to choose dentures
When you are running behind and the waiting room is full, a short checklist keeps decisions grounded rather than rushed.
- Clarify goals: Note the patient’s top two priorities in their own words.
- Assess prognosis: Chart remaining teeth, periodontal status, and likely changes over the next five years.
- Match denture type: Conventional, immediate, RPD, overdenture, or staged plan? Think about both arches together.
- Plan teeth and occlusion: Record reference photos, select a preliminary mould and shade, and state your preferred occlusal scheme.
- Align with your lab: Phone or message the lab if the case is out of the ordinary; share photos and your thought process.
- Set expectations: Talk through visits, adaptation time, likely relines, and maintenance in plain language.
- Document immediate denture instructions: For immediate cases, send patients home with written, practice branded guidance.
If you would like a lab partner in Sydney that can help systemise how you choose dentures case after case, you can request our price list and speak with the NovaDent team about your typical workflows.
Related Posts
You may also be interested in

TMJ Splint vs Night Guard: What’s the Difference?
How to Clean a Mouth Guard Properly Without Damaging It
Multi Unit Abutment Explained: Purpose, Benefits & Applications

NovaDent Has Arrived.
Previously VTS Dental Labs.
Same team
Same standards
New identity
Visit our new website