%2520(1).jpeg)
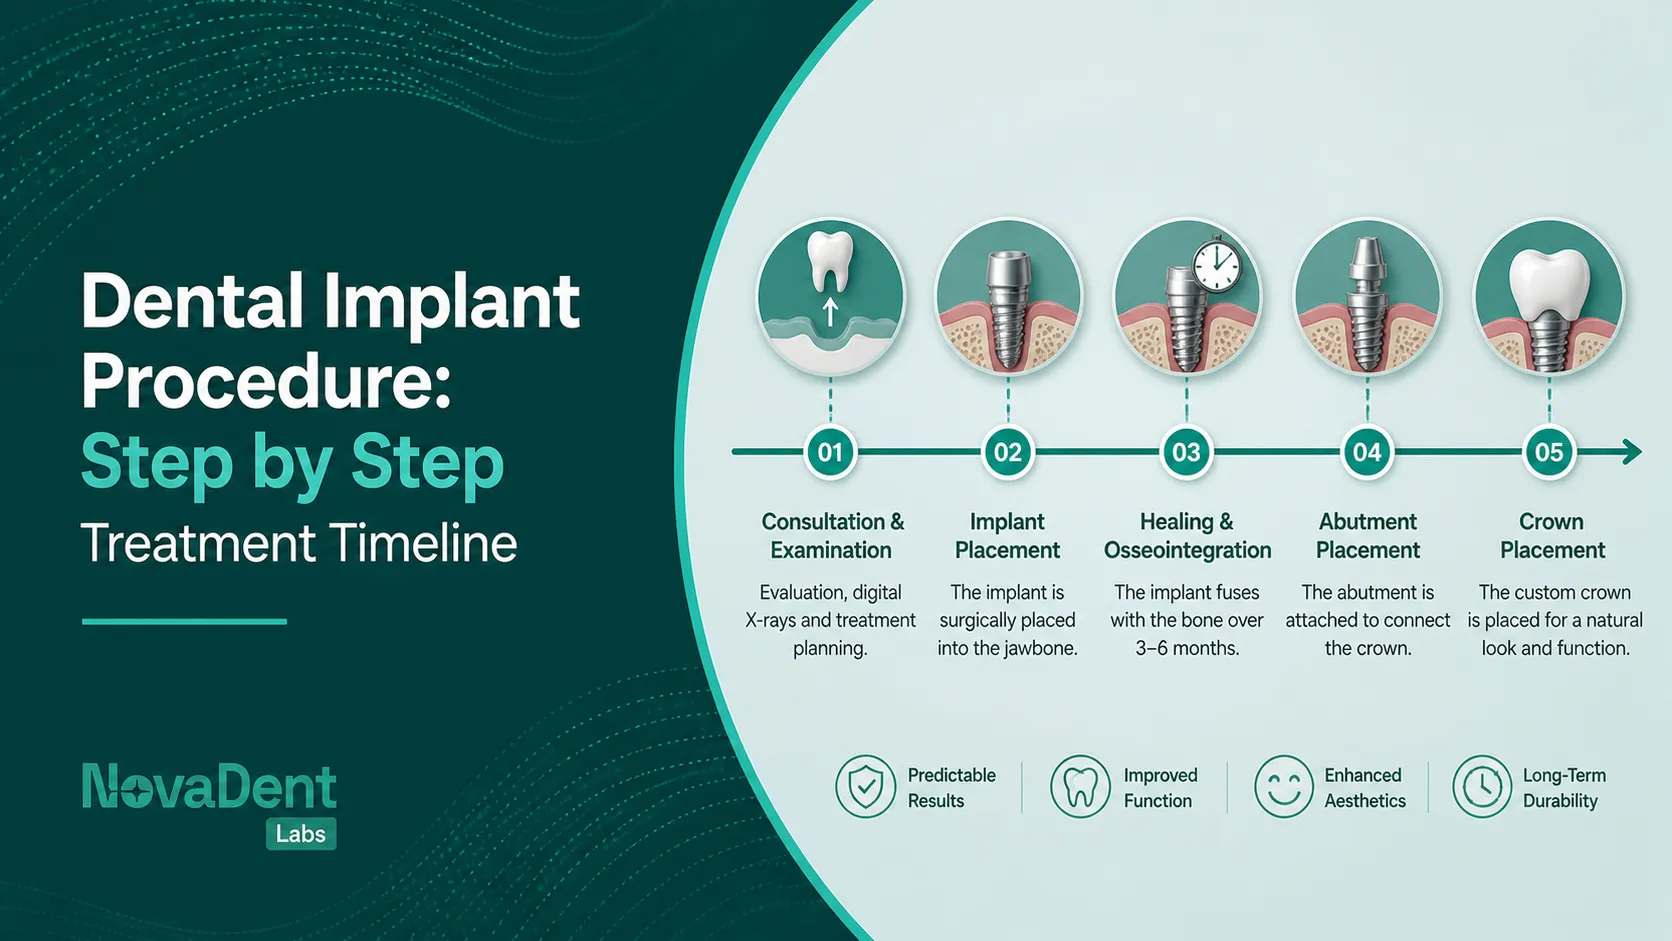
As a clinician, you know how quickly an “easy implant” can stretch over months when the plan shifts mid stream. Patients keep asking the same thing: “How long will this take?” and “What exactly happens at each visit?” When everyone is busy and your inbox is full of lab messages, having a clear, shared roadmap for the dental implant procedure helps you set realistic expectations from day one. In this guide, we’ll walk through the treatment stages, typical healing windows, and key lab checkpoints so you can schedule with confidence. Share it with associates, new team members, or even as a framework for your patient consults.
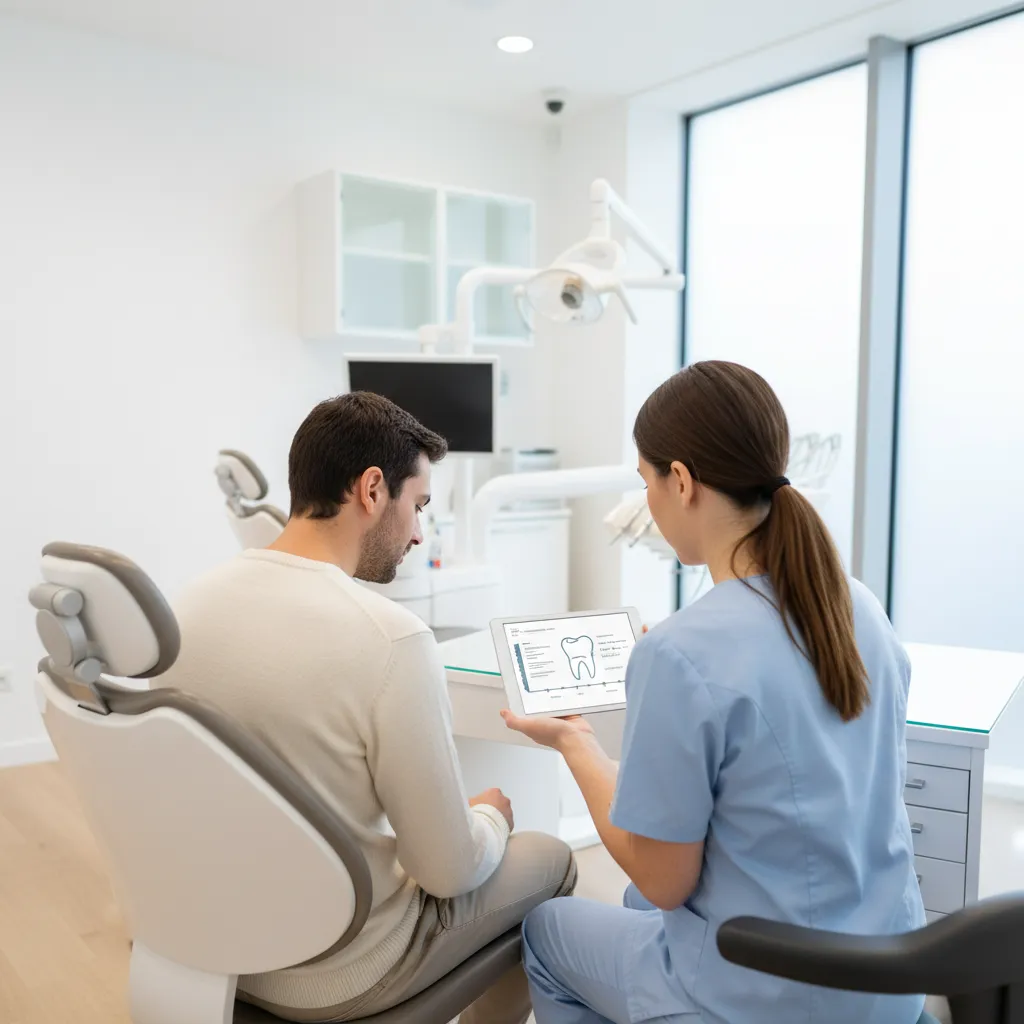
A clear consultation at the start of a dental implant procedure helps align expectations and timelines.
TL;DR
- Consult, records, planning: 1–2 visits
- Surgical placement: 1 visit
- Healing & osseointegration: ~8–12 weeks (mandible) or 12–16+ weeks (maxilla)
- Abutment & impression: 1–2 visits
- Final crown fit: usually within 1–3 weeks of impression, depending on lab workflow
More complex cases with grafting, sinus lifts or full arch work can stretch to 6–12+ months overall.
Overview: from consultation to final crown
Most implant cases follow the same broad pathway: assessment, surgery, healing, restoration, and maintenance. The details shift with bone quality, systemic health, occlusion and your chosen implant system, but the milestones stay familiar.
From a planning point of view, it helps to think in “phases” instead of isolated appointments. That approach lets you bundle visits, coordinate with your lab, and build clear internal protocols. Many practices map these phases into their implant lab prescription checklist so the front office, clinical team and lab are all working from the same playbook.
International bodies such as the International Team for Implantology (ITI) and national organisations like the Australian Dental Association outline similar staged concepts, regardless of brand.
Dental implant procedure steps at a glance
Step 1: Comprehensive assessment and planning
- Medical and dental history, periodontal charting, caries risk, parafunctional habits.
- Clinical photos, periapicals and, where indicated, CBCT scans.
- Assessment of smile line, soft tissue biotype, occlusion and opposing dentition.
- Discussion of alternatives (bridge, partial denture, ortho) and informed consent.
Digitally oriented practices often send intraoral scans and CBCT data to the lab at this stage to co-plan implant position and prosthetic design. That collaboration reduces surprises later when you reach the restorative phase.
Step 2: Surgical placement of the implant fixture
Whether you prefer freehand or guided surgery, the aim is the same: primary stability in a prosthetically driven position. In straightforward healed ridges, this might be a single visit under local anaesthetic. In more demanding cases, you may combine placement with ridge preservation or minor grafting. Full arch work, immediate placement, post extraction, and sinus lifts each add layers to the surgical stage but still sit under the same step.
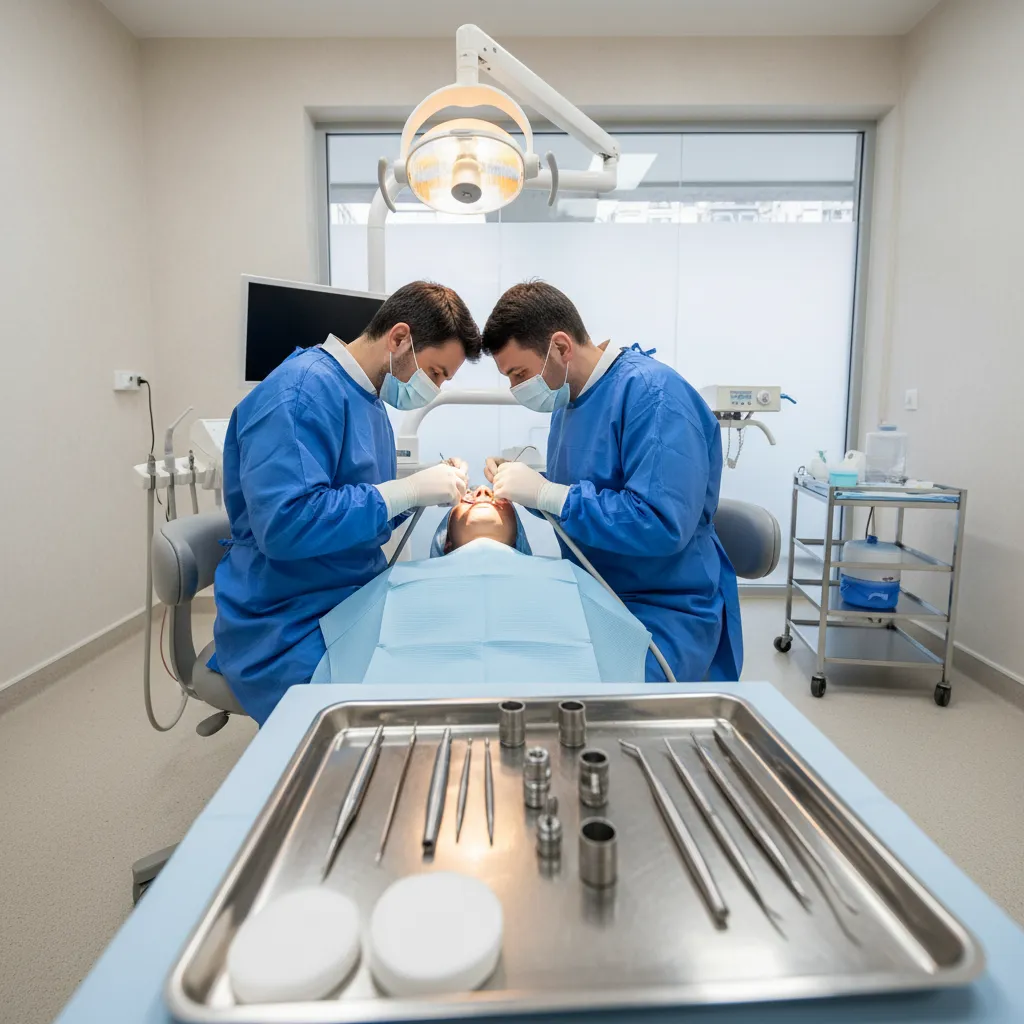
The surgical phase of a dental implant procedure focuses on achieving primary stability in a prosthetically driven position.
Step 3: Healing and osseointegration
After placement, the fixture is left to integrate with the surrounding bone. Typical ranges many clinicians use are:
- Mandible: ~8–12 weeks for uncomplicated cases
- Maxilla: ~12–16+ weeks, sometimes longer if bone is softer
- Grafted sites or sinus lifts: often 4–6 months or more before full loading
ISQ readings, radiographs and clinical feel guide your decision on when to move to the restorative stage. During this time, provisional solutions (flippers, Maryland bridges, or immediate provisionals) maintain aesthetics and function.
Step 4: Abutment and impression stage
Once you’re comfortable with integration, the focus shifts to soft tissue shaping and capturing an accurate impression:
- Placement of healing abutments or custom provisional to sculpt the emergence profile.
- Open or closed tray impressions, or intraoral scanning of the implant position.
- Recording jaw relationship, opposing arch and shade.
Labs like NovaDent use this information to design the abutment and crown in CAD, matching occlusion and contact schemes to your prescription. A consistent digital impression checklist at this step saves remakes and chairside adjustments.
Step 5: Try in and final implant restoration
With the lab work returned, you’re ready for:
- Framework or crown try in (where indicated).
- Verification of margins, contacts, occlusion and aesthetics.
- Torqueing abutment screws to manufacturer recommendations and sealing access channels.
- Patient instructions on hygiene and recall.
NovaDent’s typical turnaround for single unit implant crowns is 5–9 business days, depending on material choice and case complexity, which makes it easier to sequence impressions and fit visits for busy patients.
How long does a dental implant procedure take?
The honest answer your patients appreciate is: “It depends, but here’s a realistic range.” For most healthy adults with good local conditions, single tooth cases fall roughly into the windows below.
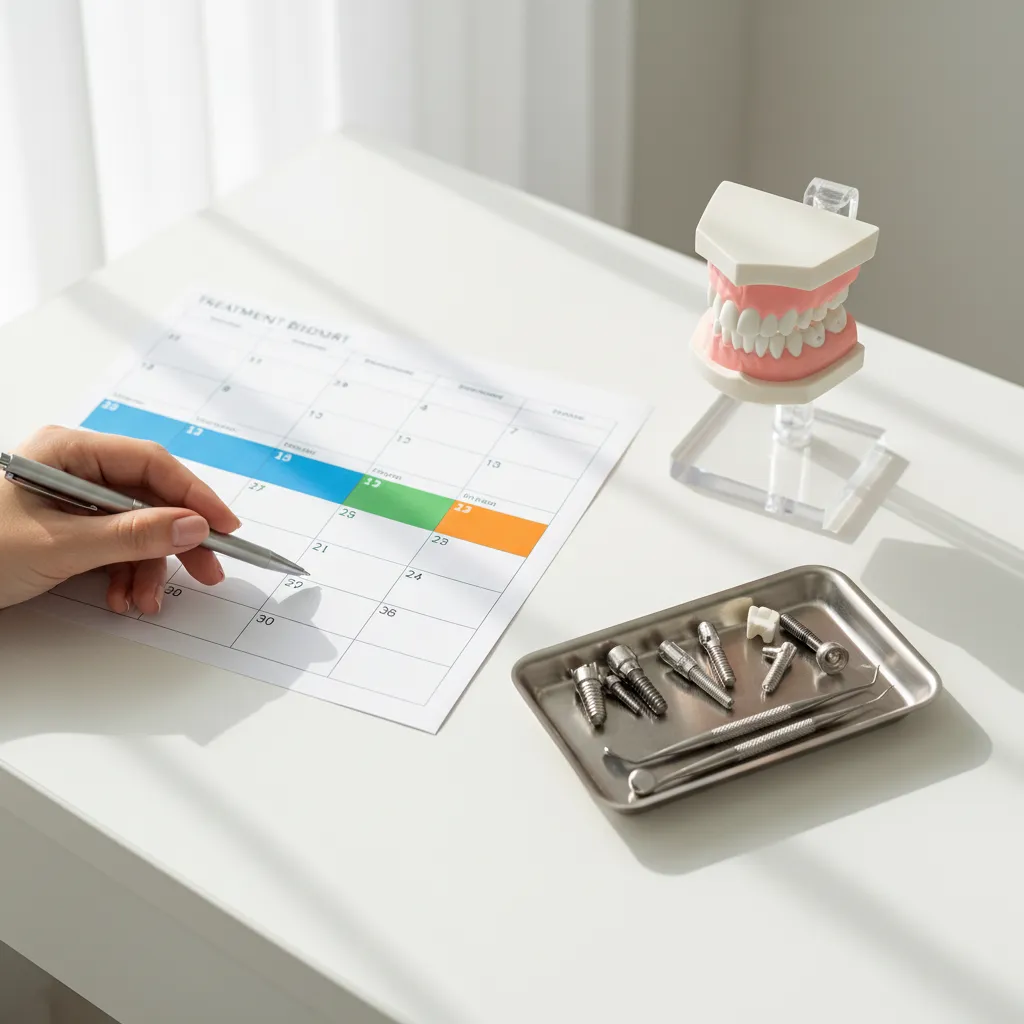
Mapping the dental implant procedure onto a visual calendar makes it easier to explain the overall treatment timeline.
| Scenario | Approx. total timeline | Notes |
|---|---|---|
| Healed site, no grafting, posterior mandible | 3–4 months | 8–12 weeks integration, then 1–3 weeks for restorative phase |
| Healed site, softer maxillary bone | 4–6 months | Longer healing; consider delayed loading, especially in aesthetic zone |
| Immediate placement into extraction socket | 4–6+ months | May use immediate provisional; definitive crown still placed after healing |
| Bone grafting / sinus lift prior to placement | 6–12+ months | Graft maturation time plus conventional implant healing |
| Full arch, immediate full arch provisional | 6–12+ months | Immediate load provisional, then conversion to definitive prosthesis after healing |
Guidance from systematic reviews and consensus reports (for example, those collated in the Cochrane Library) generally supports these broad ranges, while emphasising that case selection and surgical technique are central to outcomes.
Clinical factors that change the treatment timeline
Two “identical” molars on your schedule rarely behave the same way. These variables often stretch or shorten the path from consult to crown:
- Bone quality and volume: D1–D2 bone in the posterior mandible typically allows shorter integration times than D3–D4 anterior maxilla.
- Need for grafting: Ridge preservation, block grafts and sinus lifts extend the course by months.
- Systemic health: Smoking, poorly controlled diabetes and certain medications influence healing and case selection.
- Occlusion and parafunction: Heavy bruxers or edgy bites may call for longer healing and more guarded loading strategies.
- Arch and tooth position: High-smile-line cases often spend more time in the provisional phase while you refine soft tissue and aesthetics.
- Workflow efficiency: Digital impressions, clear lab scripts and predictable turnaround tighten the restorative phase considerably.
Building these variables into your internal implant protocols including when to involve your lab early lets associates and hygienists give consistent answers when patients ask about timing.
Where your dental lab fits into each stage
A good implant lab is more than a passive recipient of impressions. Partnership at each stage helps you keep timelines realistic and chairside time under control.
- Planning: Share CBCT data and scans for digital wax ups and surgical guide design. This keeps your implant in a prosthetically driven position from day one.
- Surgical phase: Use guided sleeves, custom healing abutments or immediate provisionals when the case allows, all coordinated with the lab beforehand.
- Restorative phase: Provide clear instructions on material choice, abutment design, emergence profile and occlusal scheme. A standardised prescription form or template inside your practice management system can help.
- Maintenance: Agree on how you’ll handle screw retained vs cement retained designs, repairs and remakes so reception can schedule appropriately when something chips or loosens years later.
At NovaDent, many dentists send a quick email or call the lab team during planning for borderline cases. That five minute check in often saves weeks of back and forth at the restorative end.
Explaining the timeline to patients (without overpromising)
Patients rarely remember every technical detail, but they do remember how clearly you framed the journey. A few practical habits many clinicians find helpful:
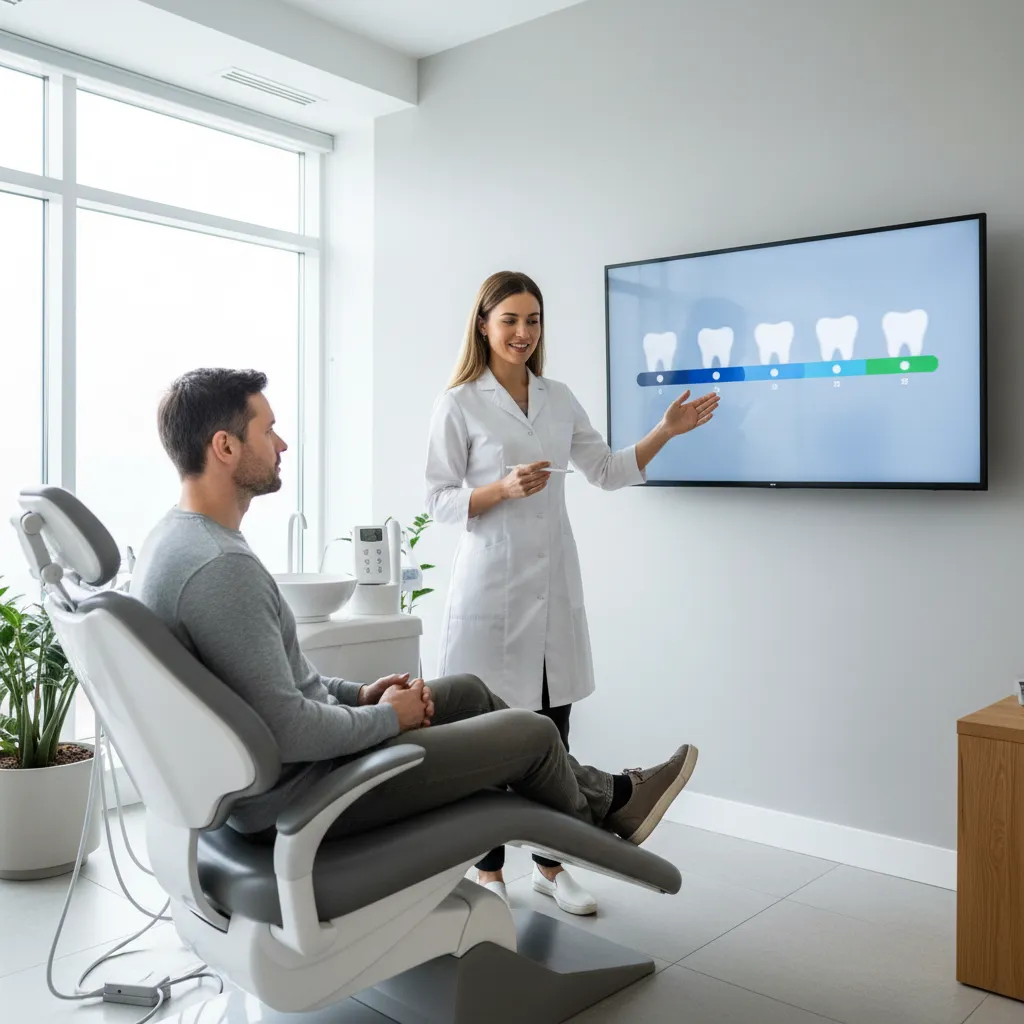
Using simple visuals to explain the dental implant procedure timeline helps patients understand each stage of treatment.
- Give ranges, not exact dates (“about four to six months” rather than “exactly four months”).
- Relate stages to simple milestones: “surgery day”, “healing time”, “impression visit”, “final tooth visit”.
- Use visuals, a one page handout or a printed copy of your implant patient journey guide goes a long way.
- Flag that healing times are individual and that you will review progress before each step.
- Reinforce the need for maintenance and hygiene, so the “end” of treatment includes recall visits.
As always, this information does not replace your clinical judgment. When in doubt, longer timelines with staged reviews tend to maintain trust better than optimistic promises that later need revising.
FAQs
Can the entire implant process really be done in one day?
Same day marketing can sound appealing, but behind the headlines sits careful case selection, pre-planning and robust follow up. Immediate placement and immediate provisionalisation can work well in selected cases with high primary stability and favourable occlusion, especially when combined with a structured recall program. The biology of osseointegration, however, still takes months, even when the patient leaves with fixed teeth on day one.
When can patients chew normally on a new implant?
After final restoration and occlusal checks, many patients can return to normal function over several weeks. Gentle function on the implant side can be introduced first, stepping up to firmer foods as comfort and soft tissues allow. Bruxers, full arch cases and grafted sites often need a slower ramp up, guided by your assessment and radiographic review.
What if an implant fails to integrate?
Early failures, while uncommon, are part of real-world practice. Having a protocol including how you communicate, when you consider replacement, and how you work with your lab to revise the plan keeps stress lower for everyone. Documented case notes, photographs and lab communication help with root-cause analysis so you can adjust technique, timing or prosthetic design for the next attempt.
Related Posts
You may also be interested in
.png)
How to Find a Premium Dental Lab

Dental Implant Care: The Tooth May Be Artificial, But the Care Is Real
TMJ Splint vs Night Guard: What’s the Difference?

NovaDent Has Arrived.
Previously VTS Dental Labs.
Same team
Same standards
New identity
Visit our new website