%2520(1).jpeg)
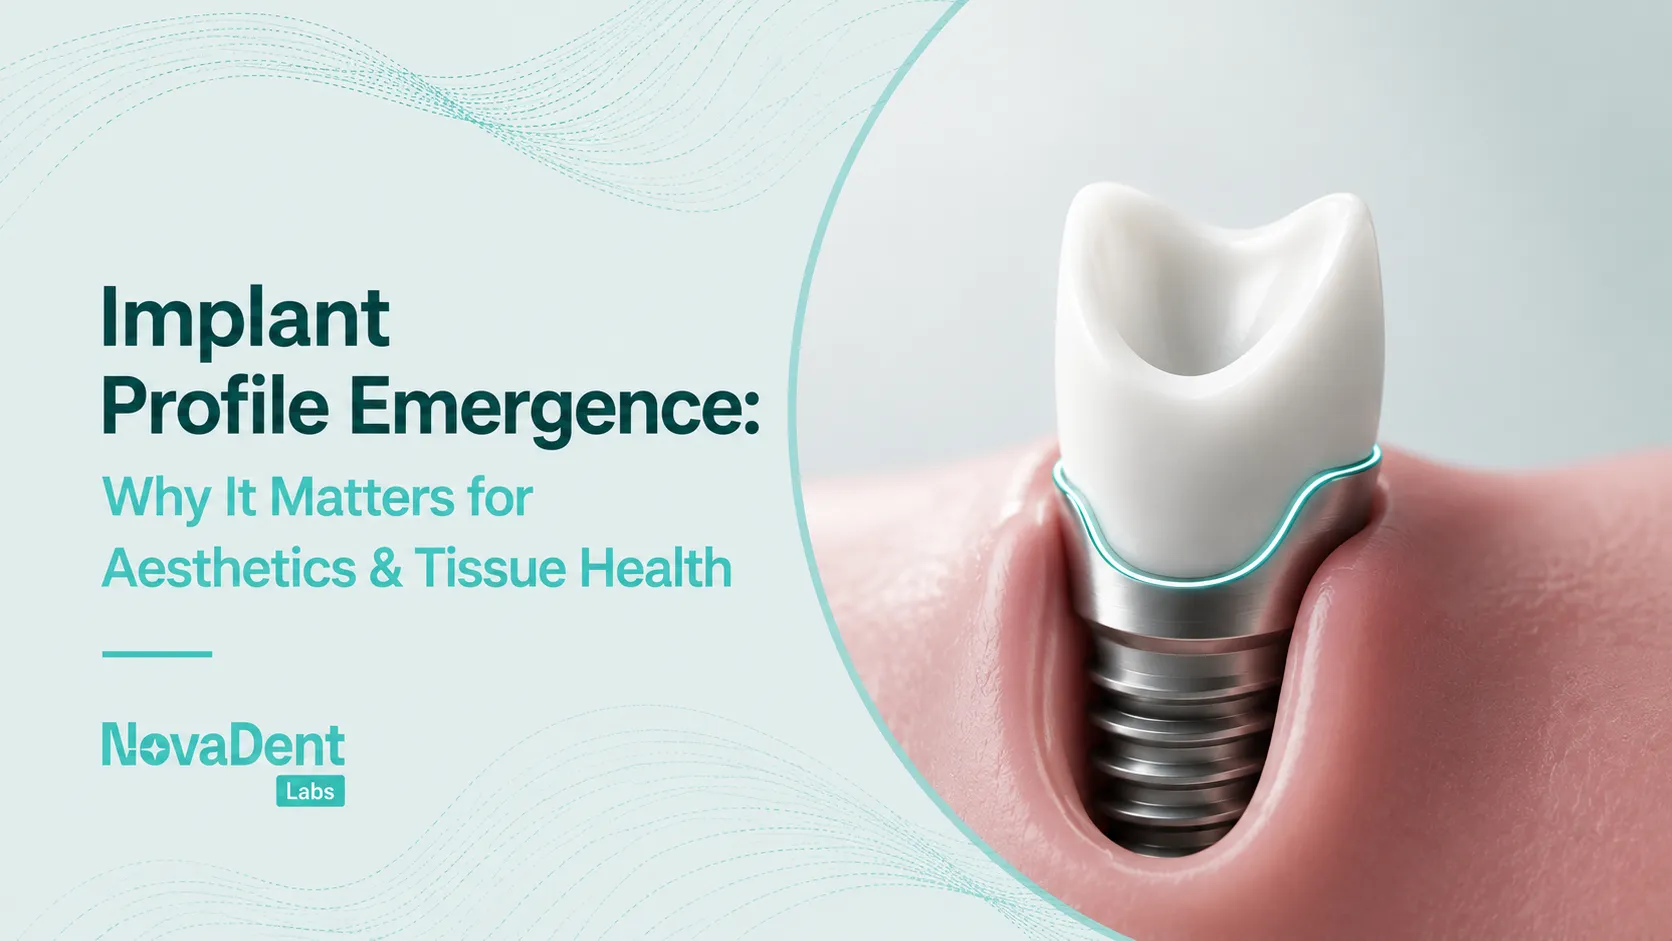
You place a single central implant, torque is solid, the X‑ray looks clean and the patient goes home happy. Six months later, they are back: the papilla has flattened, a grey shadow shows through the gingival margin and the crown suddenly feels “too bulky” to floss around.
In many of these cases, the fixture is fine. The story is written in the contours of the restoration as it exits the tissue. When clinicians and labs get emergence profile implant design right, soft tissue often remains stable, cleansable and quiet instead of inflamed and unpredictable. In this article, we’ll show how emergence profile implant design affects soft tissue stability, cleansability and aesthetics and how to shape it predictably for single implant crowns.
TL;DR
- The emergence profile is the contour from implant platform or abutment to the mucosal margin; it shapes how tissues heal, adapt and look over time.
- Over bulked or steep profiles trap plaque, stress the peri‑implant seal and are associated with more inflammation and marginal bone changes.
- Thoughtful provisionalisation, gentle soft tissue conditioning and clear communication with your lab produce more stable, natural looking crowns.
- NovaDent uses digital design, case planning support and consistent implant workflows to help clinicians standardise their approach to emergence profile.
What is the emergence profile in dental implant therapy?
In simple terms, the emergence profile is the three dimensional contour of the implant–abutment–crown complex as it travels from the bone crest up to the free gingival margin. In screw retained cases, this is mostly the crown; in cement retained cases, it is divided between abutment and crown. Article on implant abutment emergence profile and peri-implant tissues .
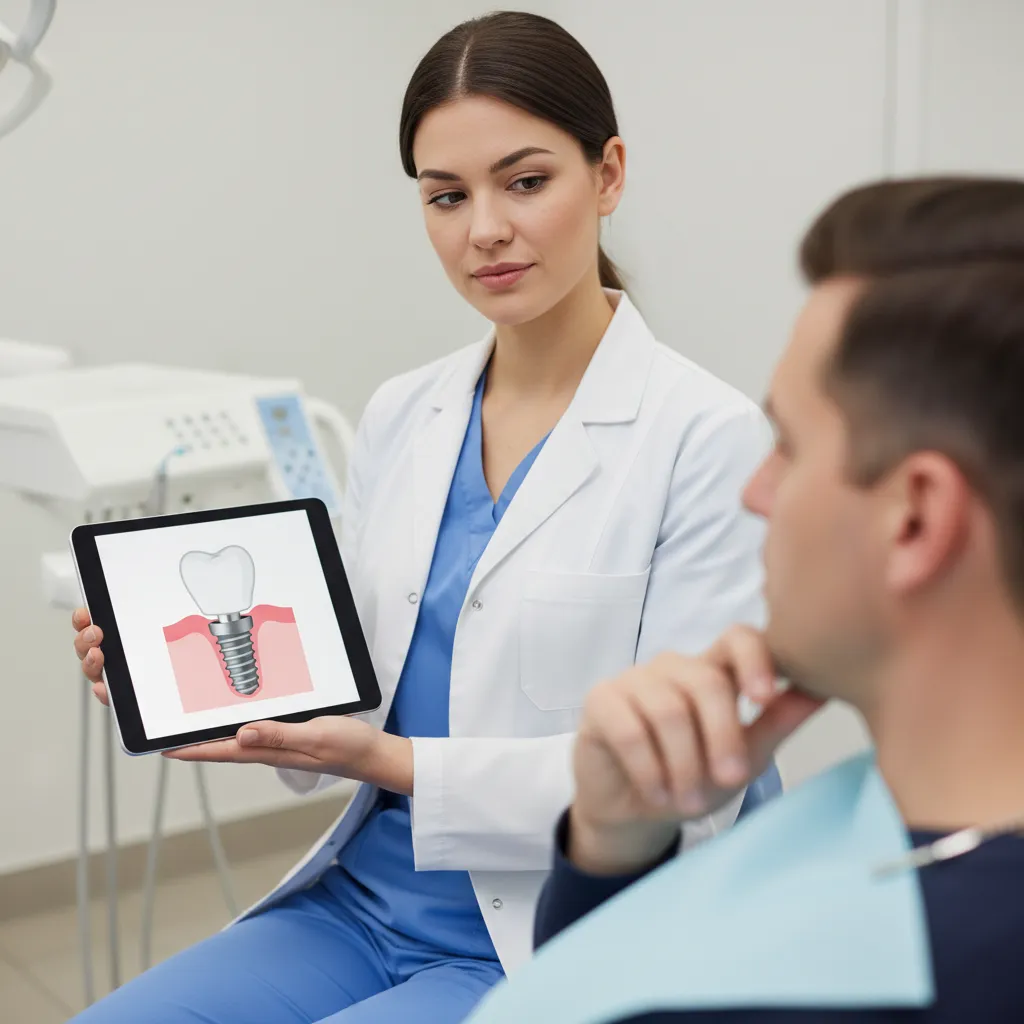
The emergence profile describes how the implant, abutment and crown transition from bone level through the soft tissue into the mouth.
Unlike natural teeth, where root morphology naturally sculpts the soft tissue, an implant is a cylinder. All the contouring work needs to be created prosthetically. The profile you design in the provisional and final crown guides:
- How quickly and in what shape tissues heal and mature.
- The thickness and stability of the buccal mucosa.
- The presence or loss of papilla between adjacent teeth or implants. JCP Digest summary on emergence profile for implant supported crowns in the aesthetic zone .
So when a patient comments that their implant crown “doesn’t look like the other tooth” or you see a halo of persistent redness, the emergence profile is often where the story starts.
Why emergence profile design matters for tissue health
Several reviews now highlight the biological impact of prosthetic contour, especially the emergence profile angle, on peri‑implant tissue health. Steep, over contoured profiles correlate with more bleeding and deeper pockets, while more gradual profiles are easier to keep plaque free. Narrative review on emergence profile angle and peri-implant health . In a 3 year randomized trial of single implants in the aesthetic zone, convex profiles showed roughly three to four times as many mid‑facial recessions as concave designs, reinforcing the case for gentler, concave contours wherever anatomy allows. Convex vs concave implant emergence profile trial .
The profile influences:
- Cleansability: A smooth, gradual contour lets patients use floss, interdental brushes and water flossers without struggling around ledges.
- Soft tissue seal: An abrupt bulge in the subcritical zone can compress the mucosa and disturb the supracrestal tissue complex, increasing the risk of mucositis and, over time, peri‑implantitis.
- Bone maintenance: Poorly designed profiles may concentrate forces or trap biofilm at the marginal bone, undermining efforts such as platform switching and connective tissue grafting.
- Aesthetics: Thin biotypes are unforgiving; even 0.5–1.0 mm of tissue loss or discoloration is obvious in the anterior.
Anterior vs posterior sites: different risks and priorities
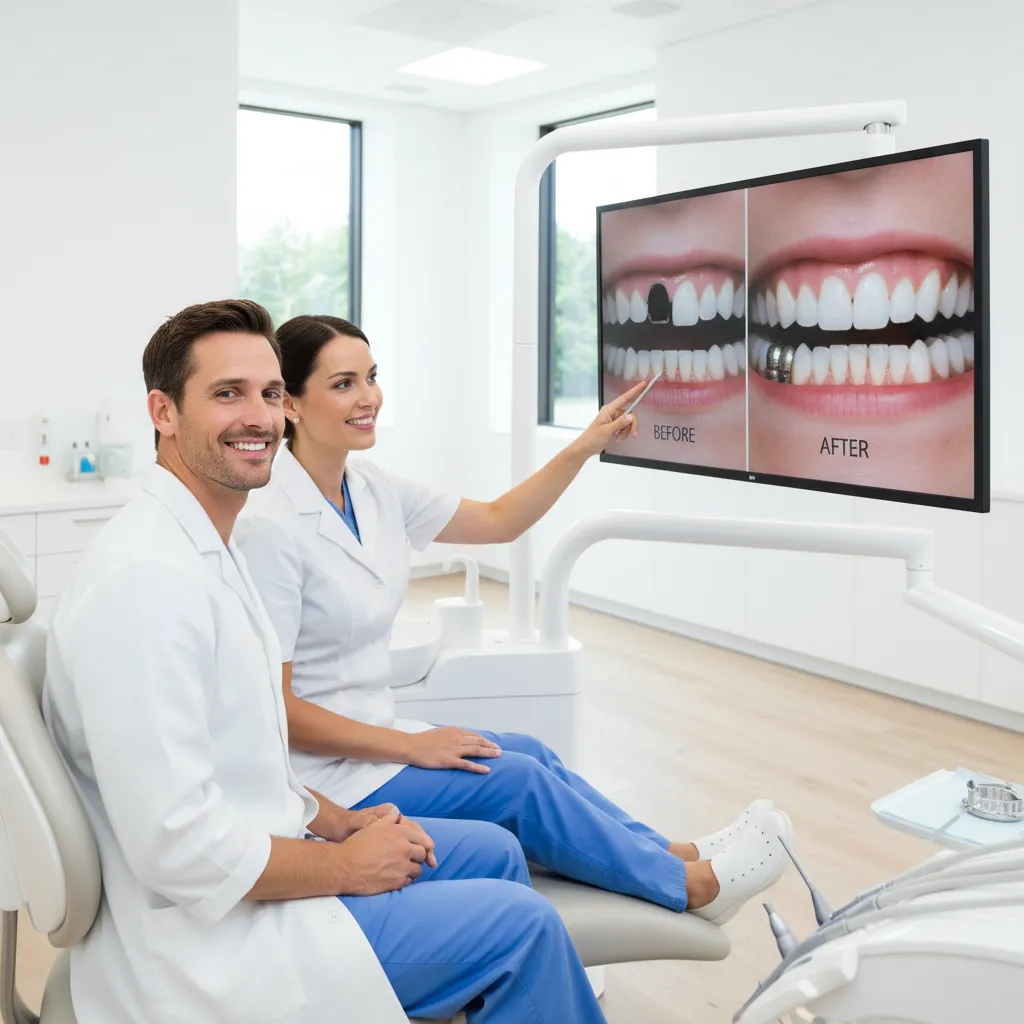
In the anterior aesthetic zone, even small changes in implant emergence profile can noticeably affect papillae and gingival contours.
In the anterior aesthetic zone, thin, scalloped biotypes are under maximum scrutiny and far less tolerant of over bulking. Even a small convexity in the subcritical zone can push tissue labially, thin the mucosa and reveal underlying abutment colour. Minor changes in emergence profile angle may lead to visible recession, black triangles or papilla loss that patients notice quickly.
Posterior sites generally offer thicker tissues and lower aesthetic demands, but they are not a free pass for bulky contours. Over contoured molar crowns can be extremely difficult for patients to clean, especially when the emergence profile creates a plaque trap on the distal of second molars or in narrow interdental spaces. In these regions, the priority shifts slightly towards cleansability and load distribution: you can accept a little more convexity if it supports occlusal forces and tongue space, but not at the expense of creating deep, uncleanable sulci.
In practical terms, aim for a more delicate, slowly emerging profile in the anterior, with particular attention to papilla support and mid facial zenith position. In the posterior, you have slightly more leeway with contour but should be uncompromising about smooth transitions, access for interdental cleaning and avoiding ledges that could fuel peri‑implant inflammation over time.
The implant may be perfectly integrated, but the emergence profile is what patients actually see and feel every day.
Emergence profile of implant crown: key design features
When planning the emergence profile of an implant crown, it helps to think in zones from apical to coronal, a concept described as the “esthetic biological contour”.
1. Subcritical contour (deep transmucosal zone)
This is the region closest to the bone. Here, less is more. Gentle, slightly concave or straight contours create space for soft tissue thickness and blood supply while still supporting the papillae. Over contouring in this zone is a frequent reason for persistent redness around an otherwise healthy implant.
2. Critical contour (1–2 mm below the gingival margin)
This zone largely determines the final gingival outline. A controlled convexity helps support the soft tissue scallop without overfilling the sulcus. For a maxillary central, this is where small changes in contour can lift or drop the mid facial zenith and papilla height.
3. Supragingival contour
Above the margin, the crown should mimic the natural tooth in shape and contact points while remaining cleansable. Tight contacts that block floss or broad, flat proximals can flatten papillae over time.
| Profile shape | Clinical impression |
|---|---|
| Over convex | “Bulky”, hard to floss, frequent bleeding on probing. |
| Moderate convex with soft transitions | Natural emergence, stable gingival margin, easier home care. |
| Too concave or under‑contoured | Black triangles, food impaction, unsupported papillae. |
The goal is not a single “ideal” shape, but a biologically friendly emergence profile of the implant crown that respects the individual tissue biotype, implant position and restorative space.
Practical steps to shape the emergence profile with your lab
Because the profile is largely prosthetic, the lab is your main ally. A few small changes in workflow can make a big difference to outcomes.
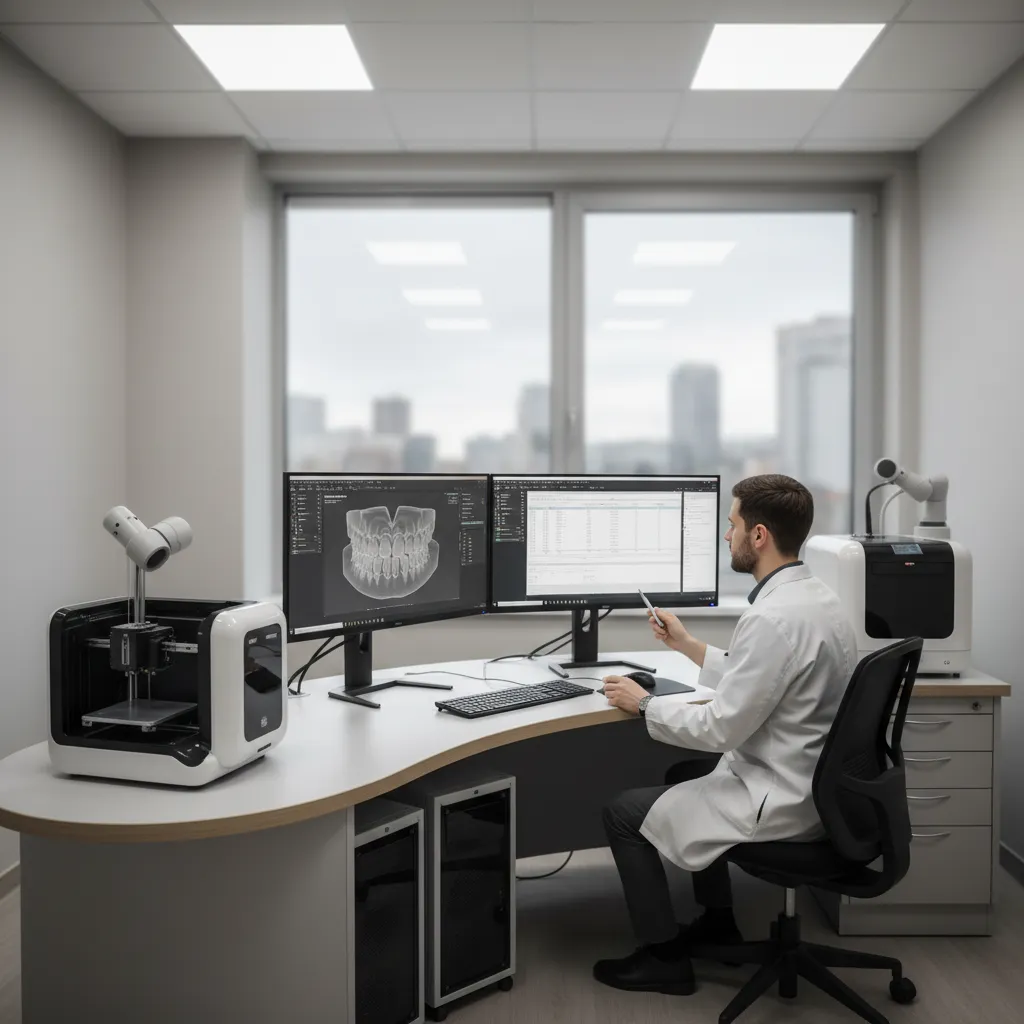
Digital workflows let you and your lab record, adjust and reproduce successful implant emergence profiles across cases.
Start with the end in mind
- Provide pre‑op photos and, where possible, a wax up or digital design showing the desired cervical contours of the final tooth.
- Share soft tissue information: tissue biotype, keratinised band width and any grafting performed.
- Use a consistent implant restoration prescription so the lab knows your preferences for transmucosal height, margin position and screw retained vs cement retained options.
Common communication gaps to avoid
Most technicians work hard with what they receive, but small information gaps quickly translate into an emergence profile that does not match your clinical vision. Common problems are missing peri‑oral or retracted photos, no clear gingival margin reference, incomplete details on implant system, platform and components, and isolated scans without adjacent teeth or opposing arch, which makes papilla height, midline and occlusion harder to judge.
- Always include at least one high quality retracted photo that shows the soft tissue contours you are aiming for, ideally alongside the contralateral tooth.
- Specify whether the current papilla and mid facial levels are acceptable or if you are attempting to augment or reduce them with the provisional.
- Confirm implant brand, platform size, connection type and any special components used so the lab can choose compatible digital libraries and parts.
- Provide full arch scans where possible so the lab can evaluate occlusion, smile line and the broader context of the implant site.
Use provisionals to “train” the tissues
Provisional crowns are your test‑drive. Reshape the subcritical and critical contours in small increments, allowing 1–2 weeks between changes. Document the final profile that gives stable tissue and clear sulci, then pass that data to the lab via scan or high quality impression.
Micro case: A 35 year old patient received an immediate implant for a maxillary central incisor with a thin biotype. At two weeks, the provisional crown was intentionally under contoured interproximally and the mesial papilla sat around 1 mm below the contralateral incisor. By progressively adding composite to the proximal subcritical and critical contours at two week intervals, the papilla filled in and stabilised over a six week period. At eight weeks, the final digital scan captured a symmetric papilla height and scalloped margin, which the lab then duplicated in the definitive screw retained crown.
Leverage digital workflows
With intraoral scans and CAD/CAM, digital workflows allow the emergence profile to be measured, saved and reused. At NovaDent, we routinely import digital impressions, design the profile virtually and keep records for future remakes or contralateral teeth, helping you standardise outcomes across your implant cases.
Common emergence profile pitfalls to watch for
- Over bulked subgingival contours: Often driven by a lingually placed implant or a desire to “fill out” the cervical area, these contours can produce chronic mucositis even when home care is good.
- Margins placed too deep: Especially with cement retained crowns, deep margins increase the risk of undetected excess cement and make it harder to monitor and maintain the soft tissue cuff.
- Ignoring implant position: When the fixture is too buccal or too shallow, no amount of contour optimisation will fully mask the problem. Some cases need surgical correction, soft tissue grafting or even implant replacement, not just prosthetic compensation.
- No soft tissue trial phase: Going straight to a definitive crown in the aesthetic zone means you have no chance to condition the tissues gradually. Skipping provisionals also removes an important opportunity to test cleansability and patient comfort before committing to ceramics.
- Trying to fix severe buccal malposition with over contouring: Compensating for a buccally placed implant by heavily bulking out the crown almost always leads to a flat, opaque cervical third, tissue blanching and food entrapment. In these situations, consider alternative strategies such as custom abutments, soft tissue grafting or, in extreme cases, revisiting the surgical plan rather than forcing the emergence profile to do all the work.
- Ignoring tissue thickness and biotype: Designing the same convex emergence profile for a thick, flat biotype as for a thin, scalloped one can produce very different outcomes. Thin tissues benefit from more concave subcritical contours and careful support of the papillae, while thick tissues are generally more forgiving but still require smooth transitions and accessible embrasures for cleaning.
Having a structured review protocol around new implant supported crowns at 1, 3 and 12 months helps you catch these issues early.
How NovaDent Labs supports predictable emergence profiles
As a digital first lab working daily with implant cases from single units to full arch implant cases from across Australia, NovaDent focuses on turning this concept into a repeatable, team friendly process rather than an art project that depends on one technician’s mood.
- Standardised digital designs: We record and reuse successful emergence profiles for similar cases, especially in the anterior aesthetic zone.
- Case planning support: For complex sites, our team can review your scans and photos and suggest abutment designs, transmucosal heights and provisional strategies.
- Consistent turnaround: Most implant restorations are delivered in 5–9 business days, helping you schedule soft tissue conditioning and review visits with confidence.
If you would like to align your implant cases around a consistent protocol, you can contact NovaDent or request our price list and implant restoration guides.
Chairside checklist for a healthy, aesthetic emergence profile
For your next single implant crown, run through this quick list before you sign off on the case.
- Is the subcritical zone straight or slightly concave, with no obvious ledges on probing?
- Does the critical contour support the gingival scallop without blanching the tissues?
- Can the patient pass floss easily under contacts and around the crown without shredding or “clicking” over steps?
- Are the papillae stable compared to the provisional or adjacent tooth at 3–6 months?
- Have you documented the final emergence profile in your notes and digital records for future reference?
Building this checklist into your routine takes only a couple of minutes and pays off in fewer remakes, fewer emergency “my gum looks odd” visits, and happier patients.
Related Posts
You may also be interested in
.png)
How to Find a Premium Dental Lab

Dental Implant Care: The Tooth May Be Artificial, But the Care Is Real
TMJ Splint vs Night Guard: What’s the Difference?

NovaDent Has Arrived.
Previously VTS Dental Labs.
Same team
Same standards
New identity
Visit our new website